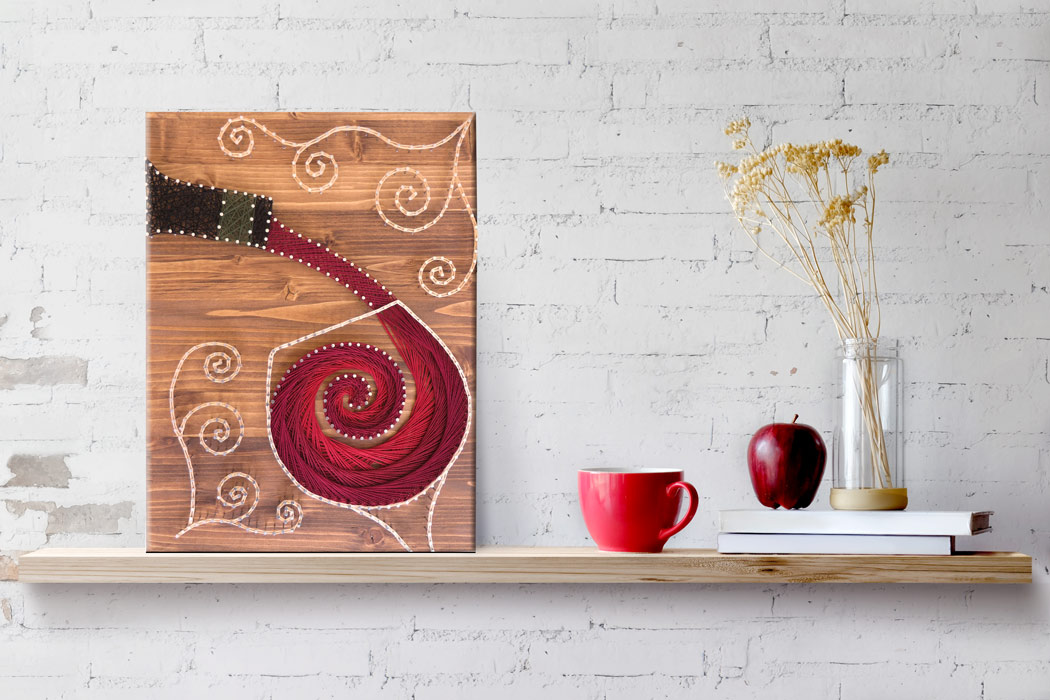
The Wine String Art is a fan favorite for all String of the Art’s string artists. The combination of old school string art geometric angles with new school design makes it a perfect project for a wine lover.
Watch me string this piece up in under 60 seconds on YouTube.
Supplies

All of String of the Art’s kits includes everything you’ll need to complete your string art project.
These items are:
- 16″ by 12″ Hand cut and hand stained pine wooden board
- Embroidery Floss
- Metallic Wire Nails
- Instructions
- Pattern Template
- Hanging Hook
A hammer is not included with the string art kit. Any hammer laying around your home will work perfect!
Get Hammering
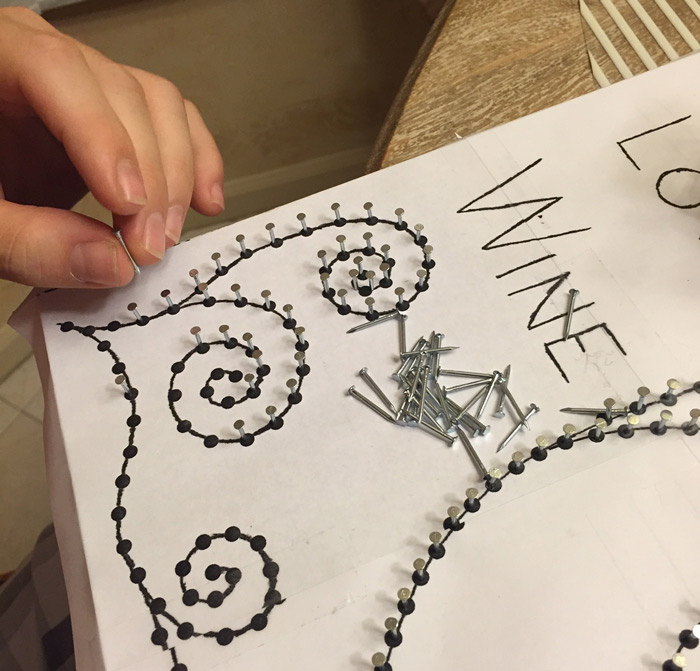
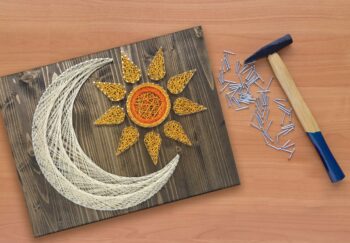
Lay our custom fitted pattern template over the wooden board provided with the Sunflower String Art Kit.
Grab a wire nail, place the nail over one of the many dots scattered on the pattern template, and hammer that nail in!
But wait… don’t hammer it all the way down. Hammer it halfway down. Lay half the nail to stick up above the wood. You’ll need that room for the string.
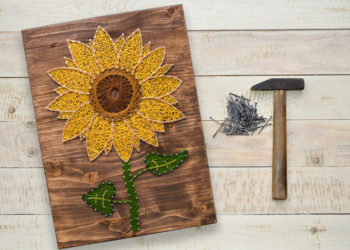
Go around and hammer a nail over every dot located on the pattern template.
When done, rip the pattern template off the board. All that will be left is the wood, nails, and your newly acquired hammering skills. After this project maybe you can hammer an entire treehouse together!
You Can Never Have Too Much String
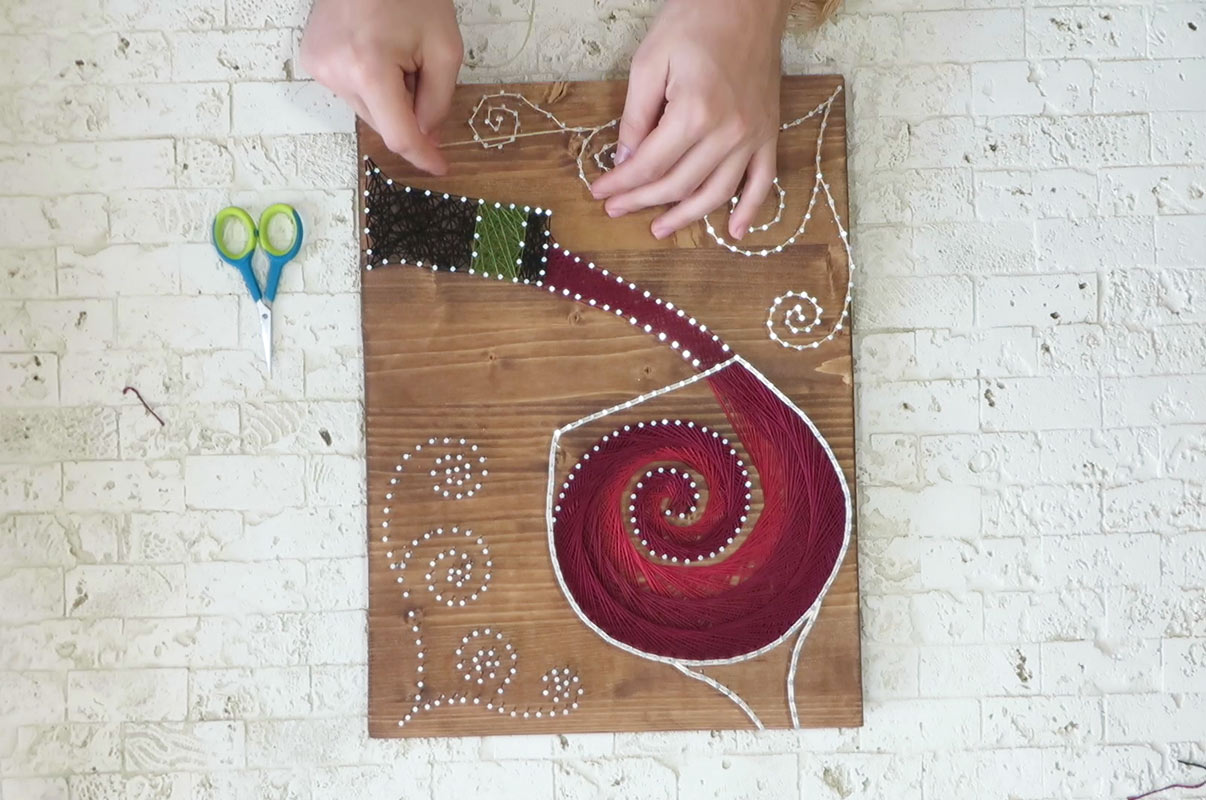
We made it to the best part, so let’s start stringing!
Here I’ll break down how to string this wine piece up.
Wrapping the string around the nails will either be done using our “Random Pattern,” “X & O Pattern,” or our “Wine Glass Pattern.” The instructions, included with the kit, explain exactly how and where all three of those stringing methods are created.
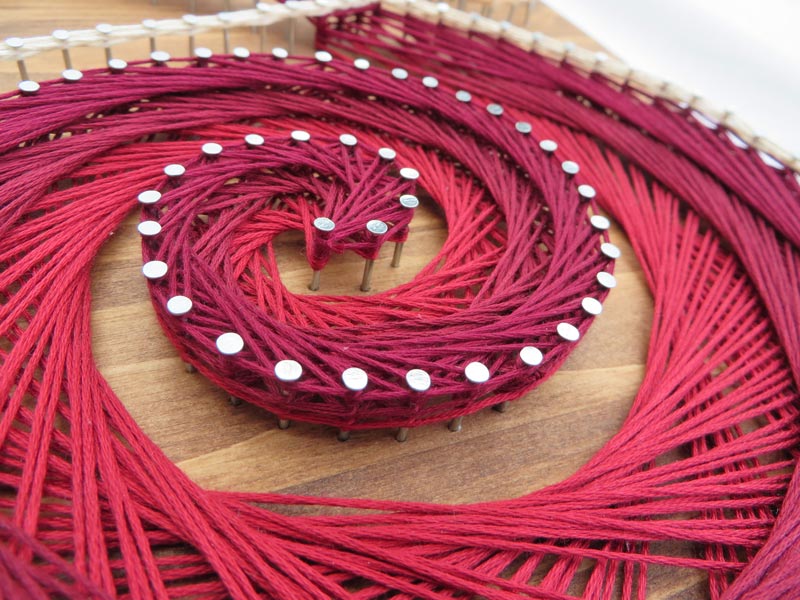
First up, I string the pouring wine swirling in the wine glass. Create the wine affect using our Wine Glass Pattern. Three different shades of red make up the pattern. I cannot reveal the pattern’s specifics, but the kit’s instructions cover it nail by nail.
Place our nail number template around the nails making up the wine swirl. The template identifies each nail with a number. Using that nail’s number, follow our Wine Glass Pattern to complete the swirling wine the exact same way I did! For example the pattern will say, “Start at nail #1 and extend the string to nail #21, wrap the string clockwise around the nail, and extend it back to nail #1.”
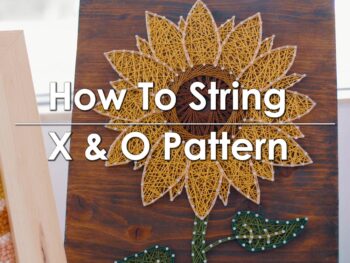
After the wine swirls are complete, the X & O Pattern comes into play. Use it to form the wine glass and the corner swirls. Click here to read about how to create the X & O Pattern.
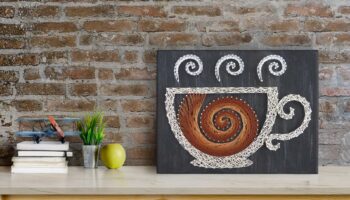
Lastly is the black and green wine bottle. Use the Random Pattern fill in the wine bottle.
Almost Done!
You may think you are done, but you are not.
Yes, the Wine String Art Kit ran out of steps. You can only read the “Thank You” page of the instructions.
But now you need to brag. Show off your awesome wine to everyone you know. I’m talking about mom, dad, sister, best friends, Facebook friends, Facebook friends of friends who didn’t know of you existence, that handyman you comes over to change your light bulbs that in stuck in your 20 foot ceiling.
Oh and you MUST brag to me! I need to see your wine. Take a picture of your wine and tag @StringOfTheArt on social media. We will repost your picture! So all our string artists can see how amazing wine.
Enjoy and get stringing!