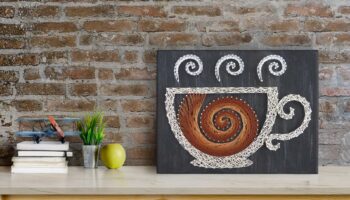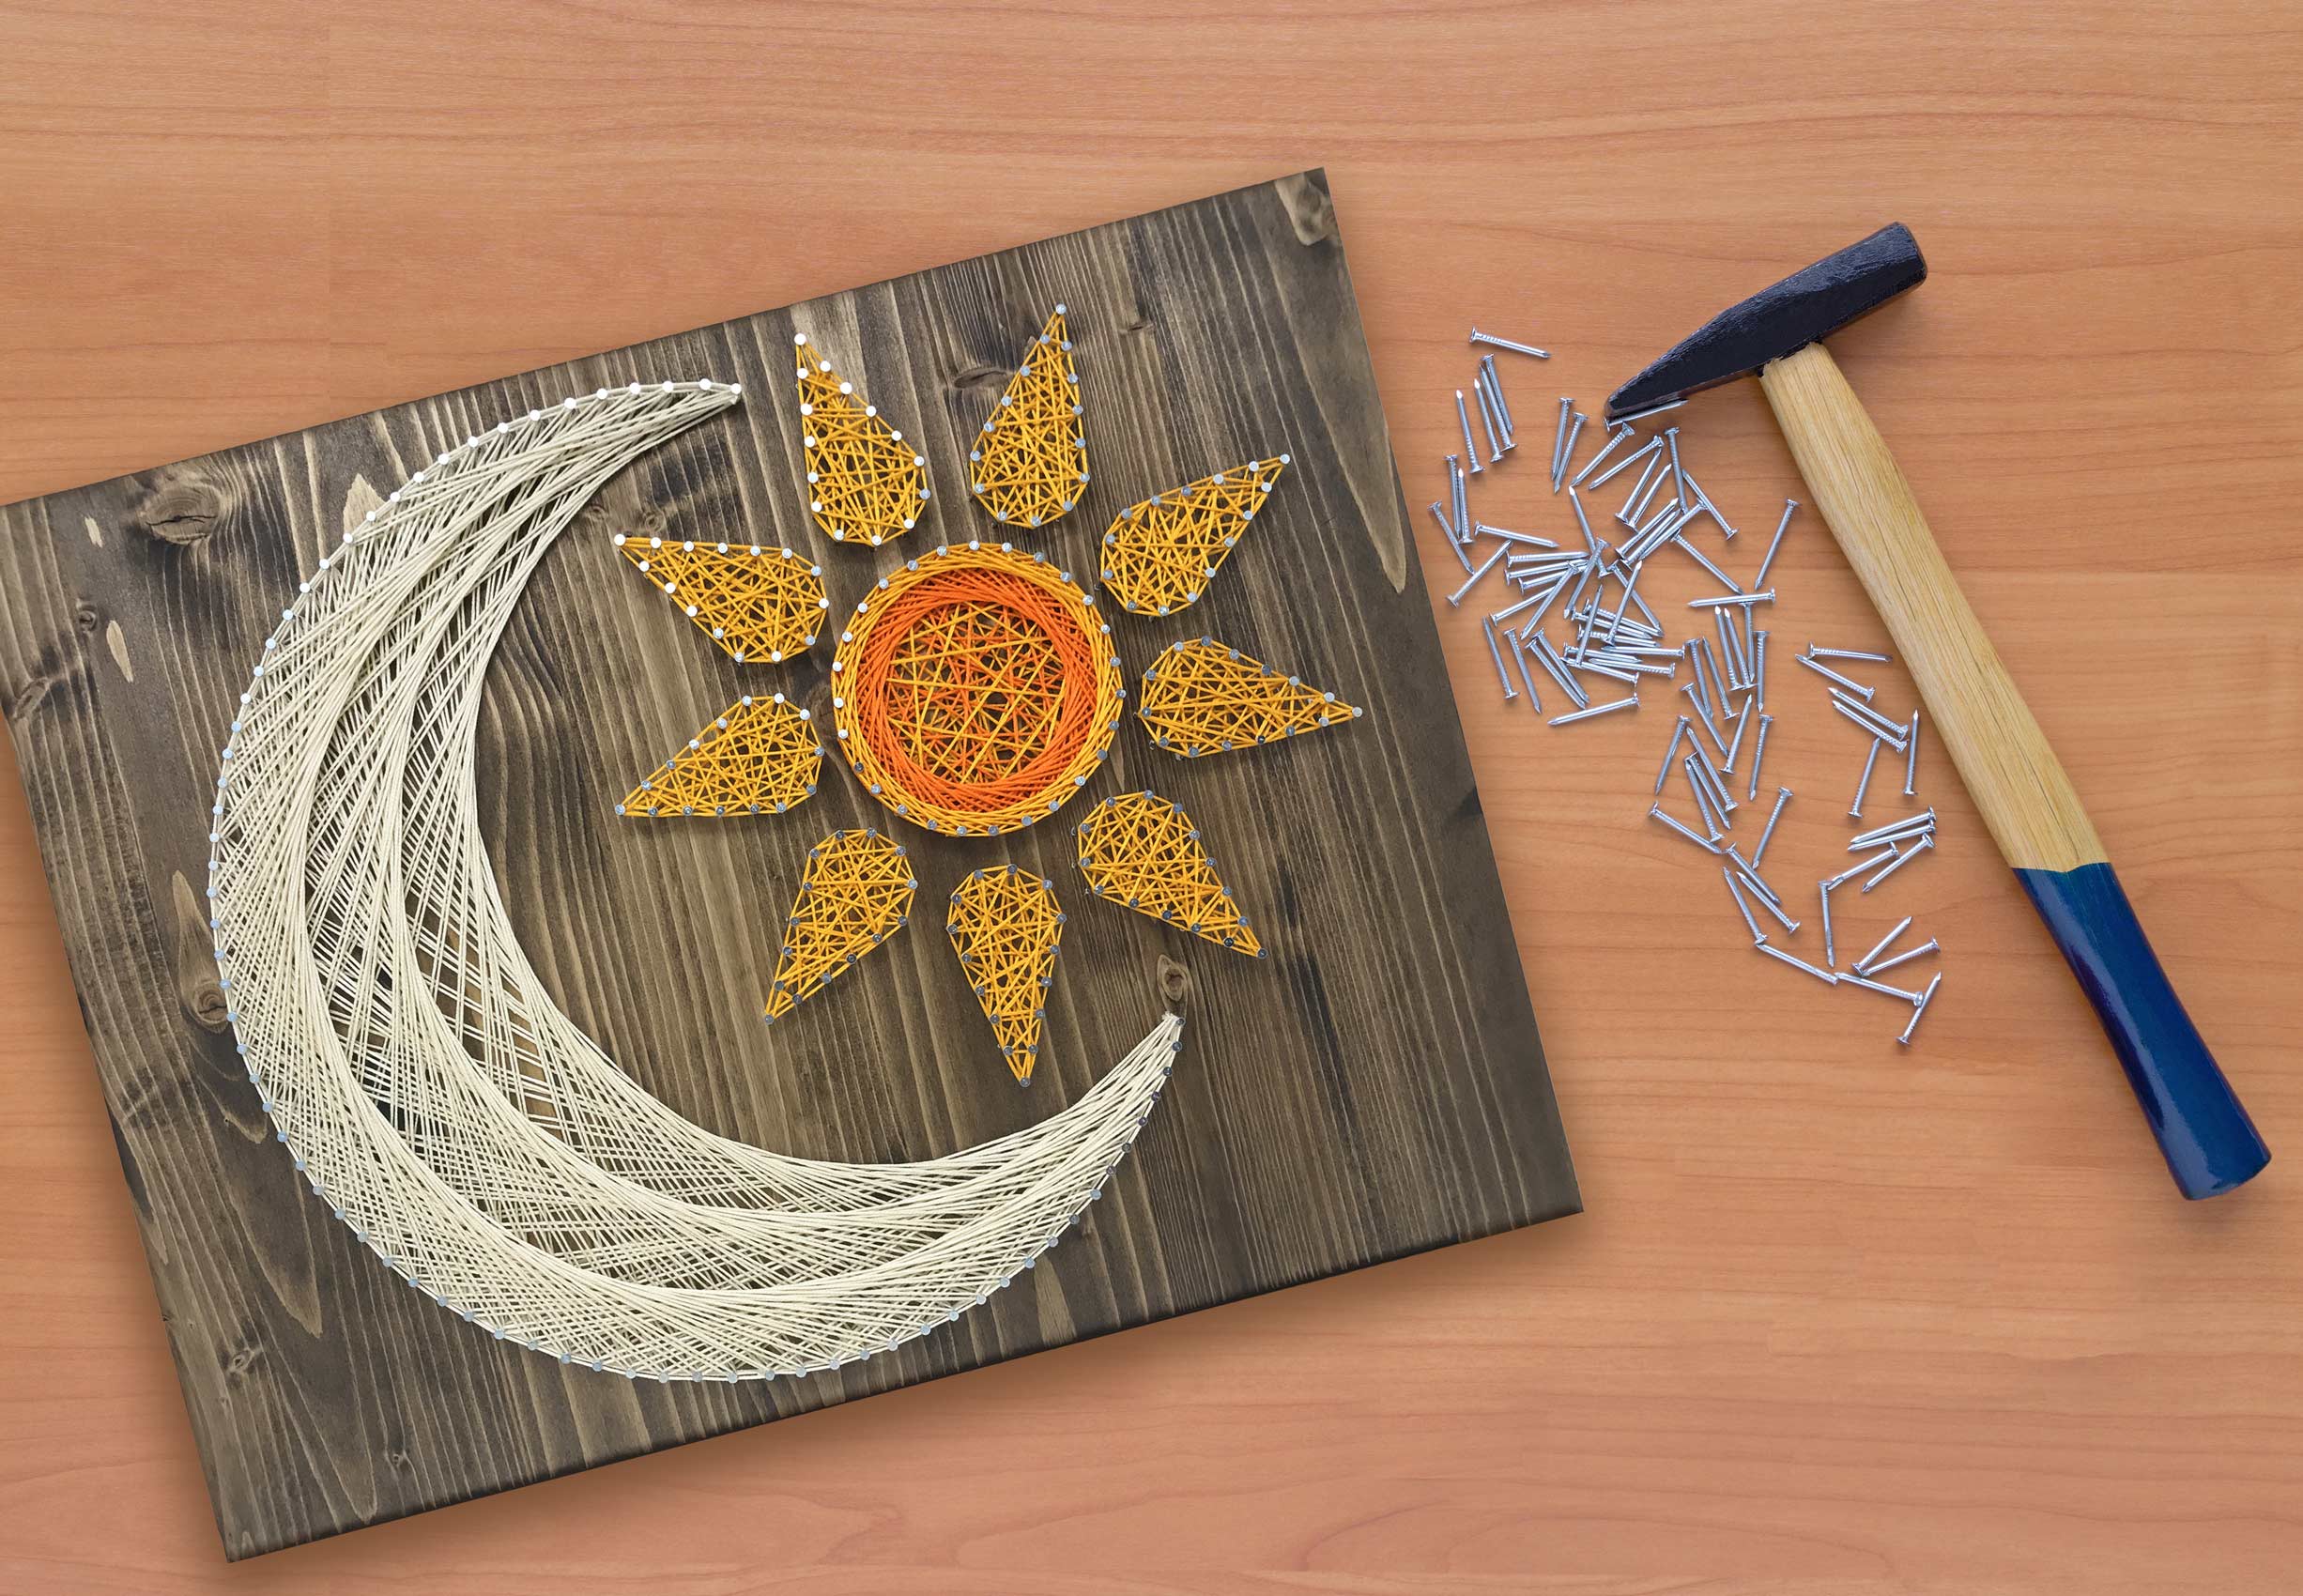
Live by the sun. Love by the moon.
Learn how artist Lawrence Ross strung up this one of the kind Sun & Moon String Art Kit. Let’s get crafting!
String Art Supplies
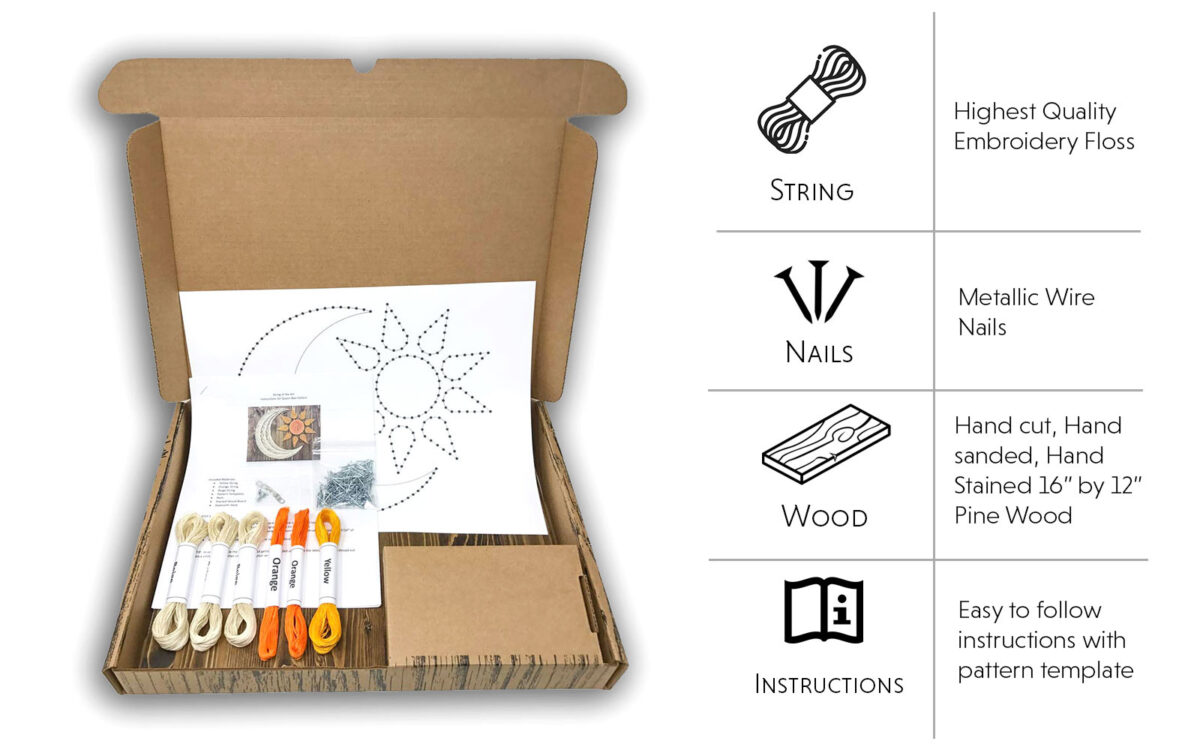
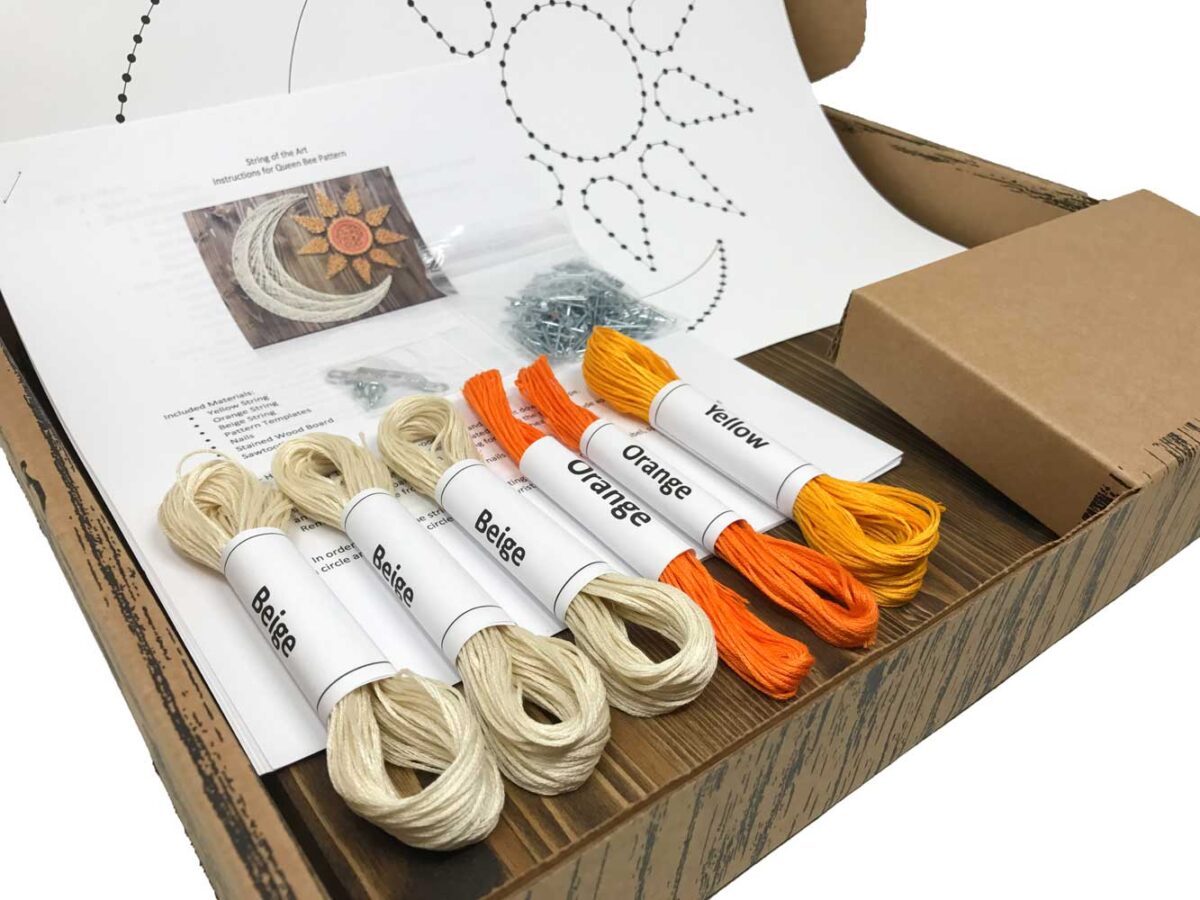
The Sun & Moon String Art Kit includes all the crafting supplies you’ll need to complete the project. String, nails, prepared stained wooden board, instructions, pattern template, and the hanging hook. The only tool you’ll need on hand is a hammer.
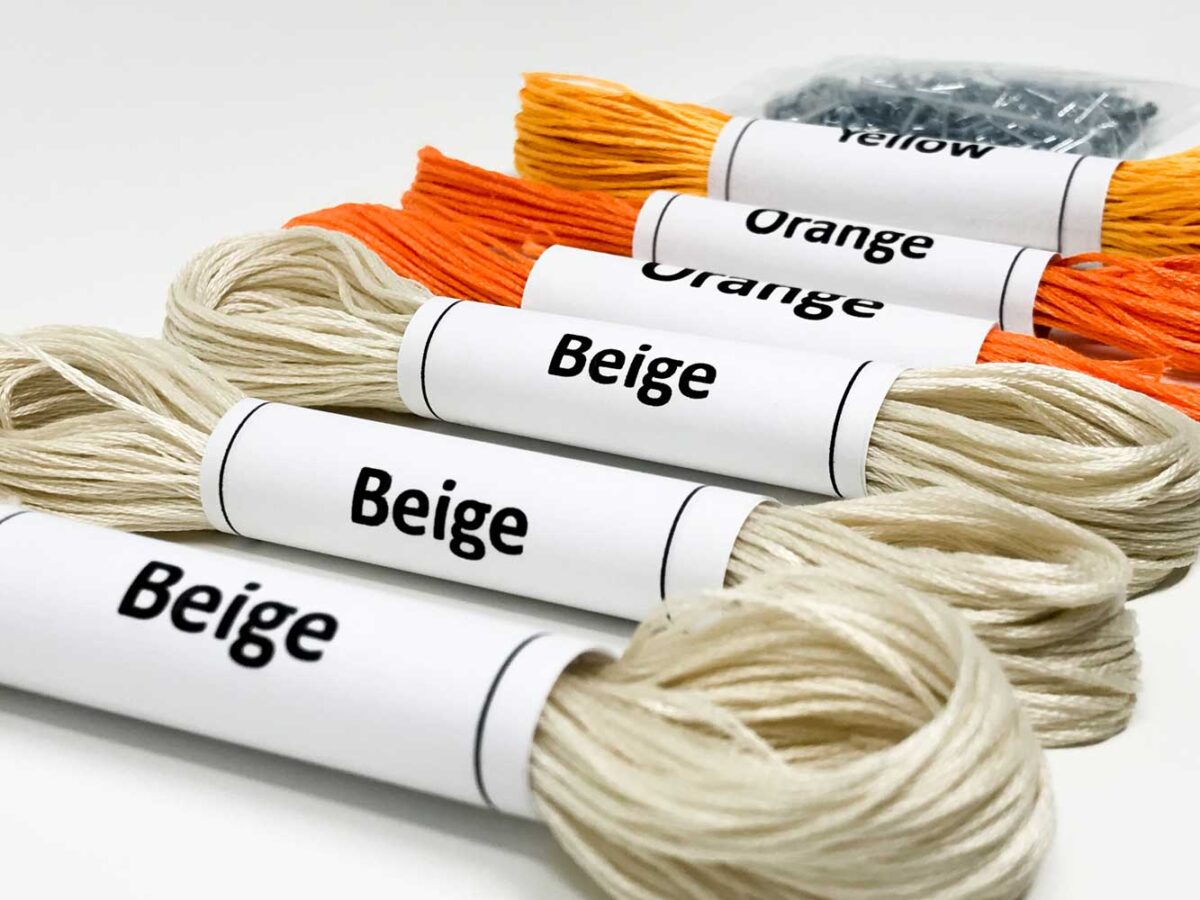
If you want to craft this design without the kit then you will need to pick up orange, yellow, and beige string. Grab yourself a pine wooden board from your local hardware store. Nails and wood stain can also be found there as well. Sketch your Sun and Moon patter on a piece of paper and you’re ready!
Grab That Hammer
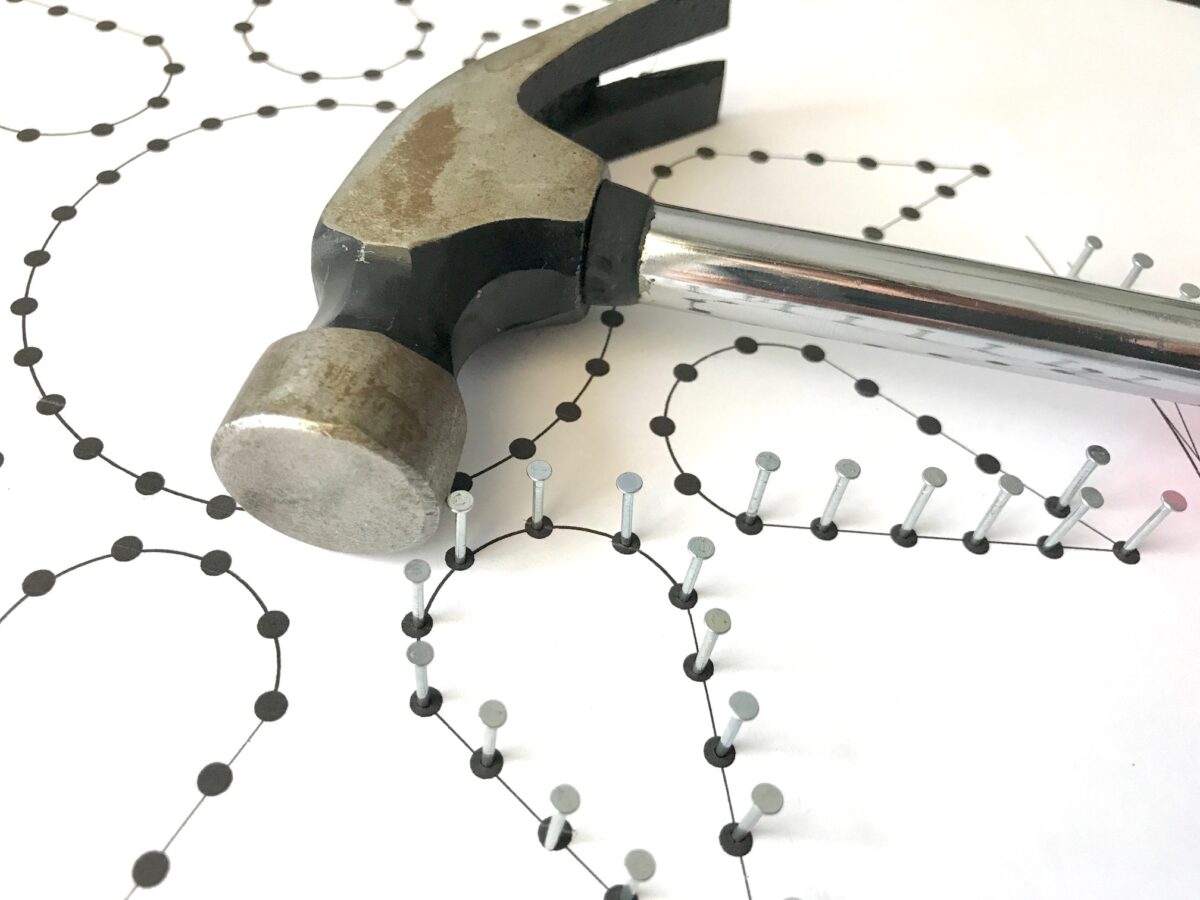
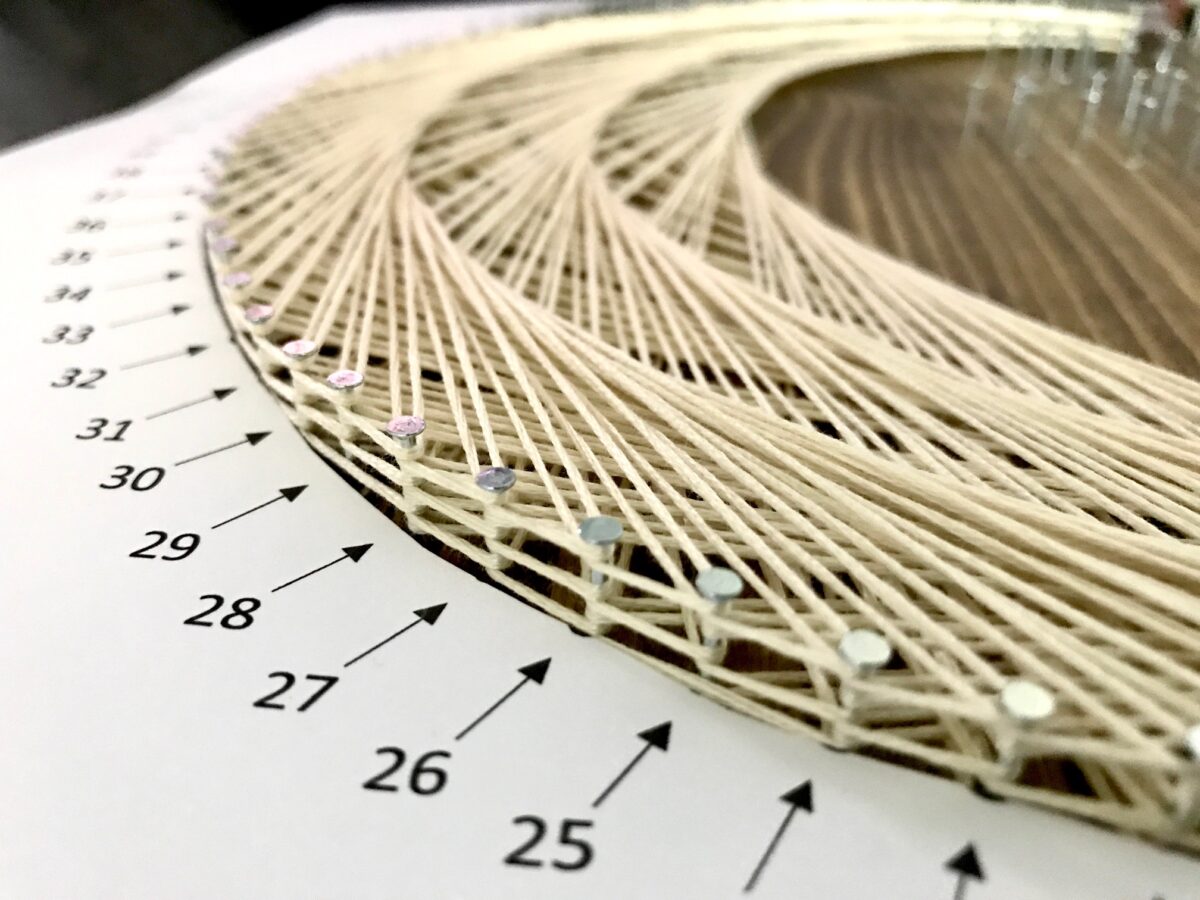
Lay our custom fitted pattern template over the wooden board provided with the Sun & Moon String Art Kit.
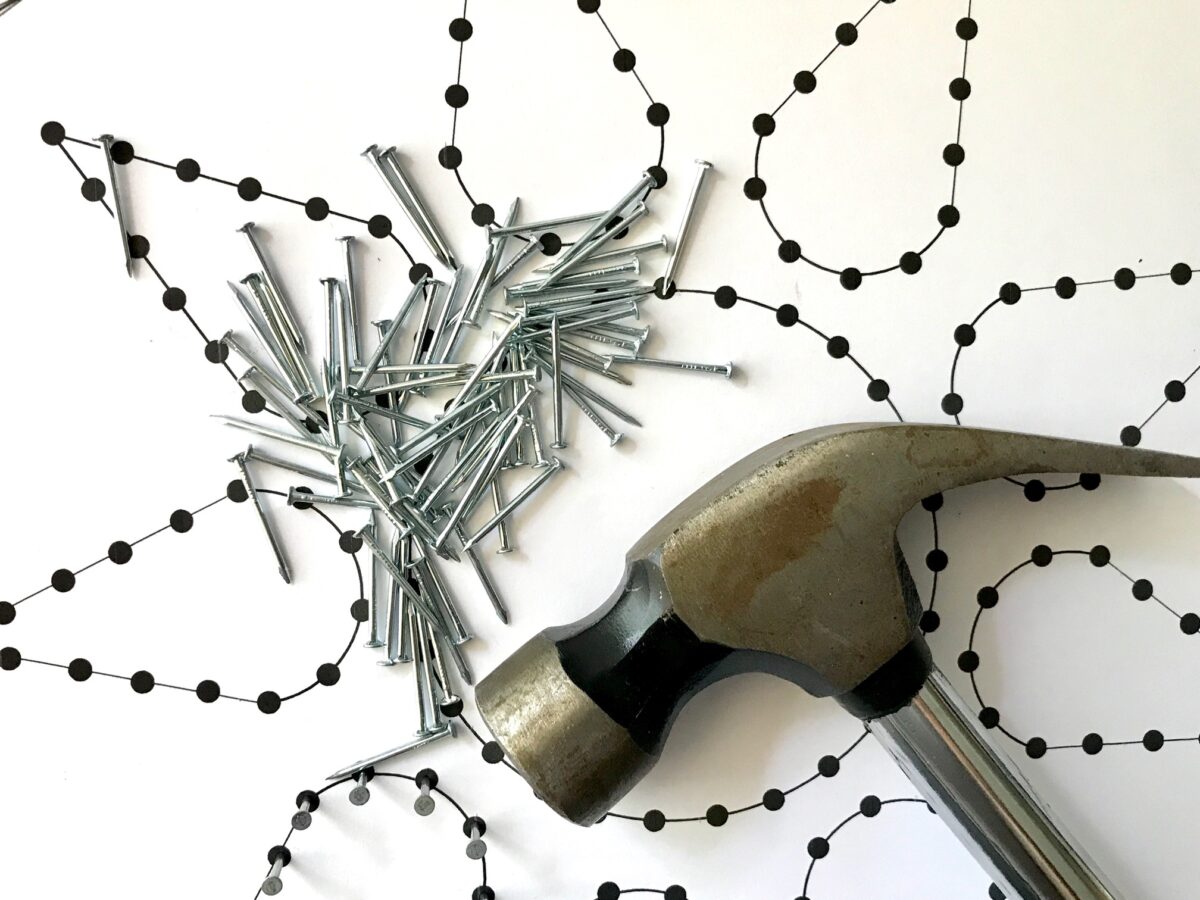
Grab a wire nail, place the nail over one of the many dots scattered on the pattern template, and hammer that nail halfway down.
When all the dots have a nail hammered through them, lift the pattern template off the board. All that should be left is the wood, nails, and your new deadly hammering skills. After this project, do you think you can help hang a few pictures on my walls for me?
Show The String Who’s Boss
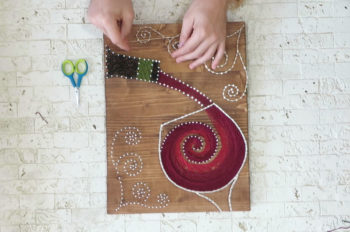
Let’s get to the best part of this string art project! Stringing!
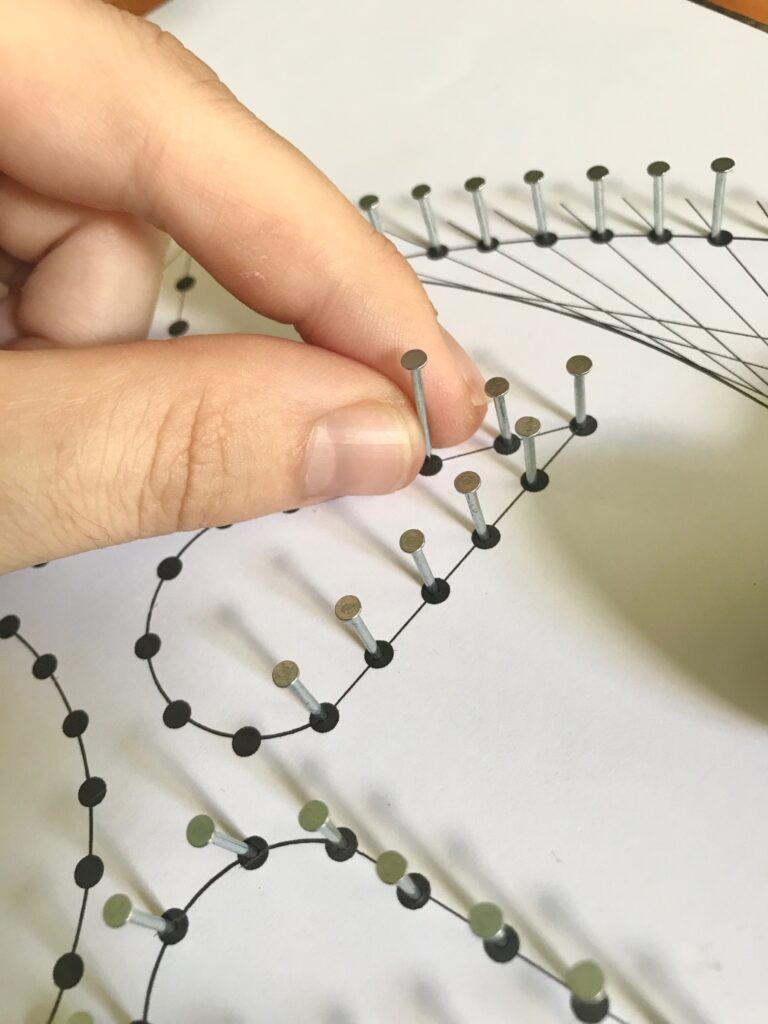
As you can see above, the Sun & Moon String Art Kit includes a template that identifies each nail. That’s because the instructions tell the string artist exactly which nail to wrap the string around.
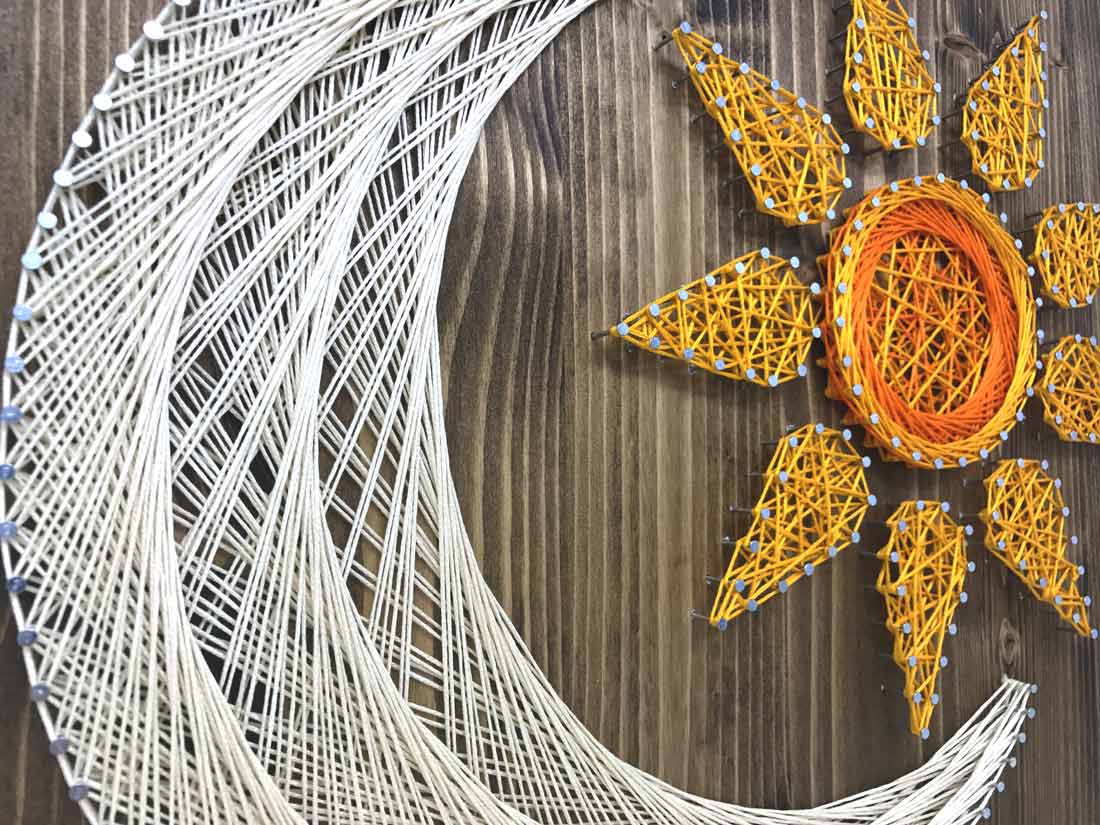
Following the kit’s instructions will create the incredible triple layered pattern seen in the moon.
But if you are free-handing this crafting project without the kit, that’s cool too.
Keep your half circles even, be artistic, and have fun! Made a mistake? No worries. Just go back a few wraps and begin again. Keep in mind, I had to free-hand the original design. So you’re in the same boat as I was.
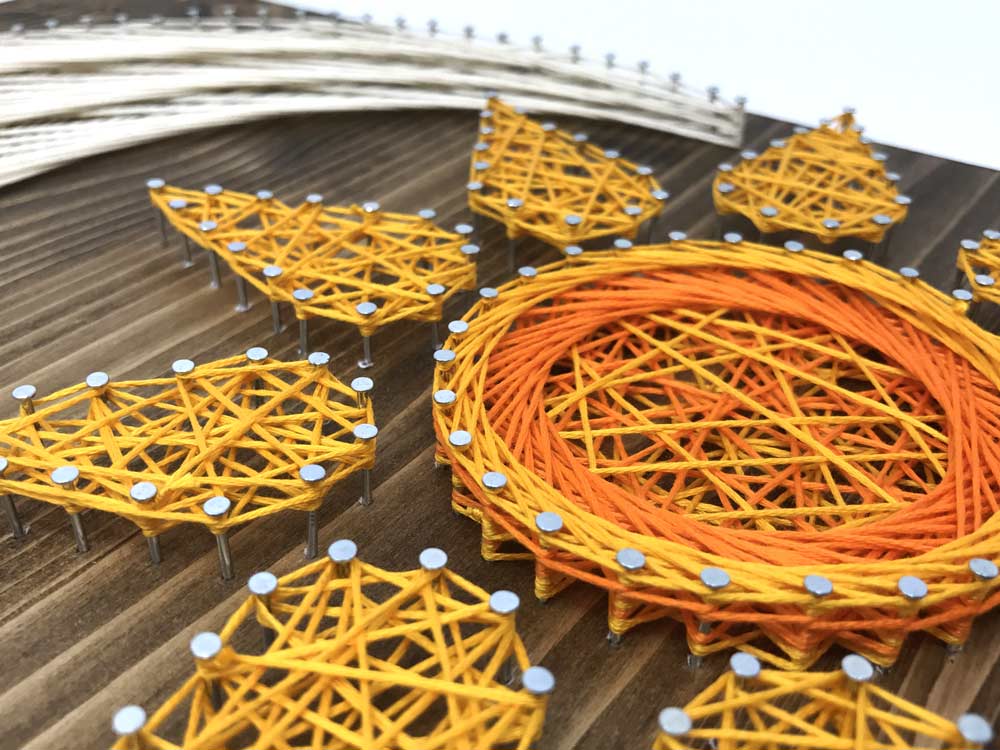
After the moon comes the sun. The sun, just like the moon, also has three layers of string.
On the bottom layer I mixed the yellow and orange string together using the Free-Form Pattern.
The Free-Form Pattern is created by sending the string in random directions. Wrap the string to the left, down, right, there’s no right or wrong way. Just wrap the string everywhere you want, as long as it is inside the sun and sun rays.
Masterpiece!
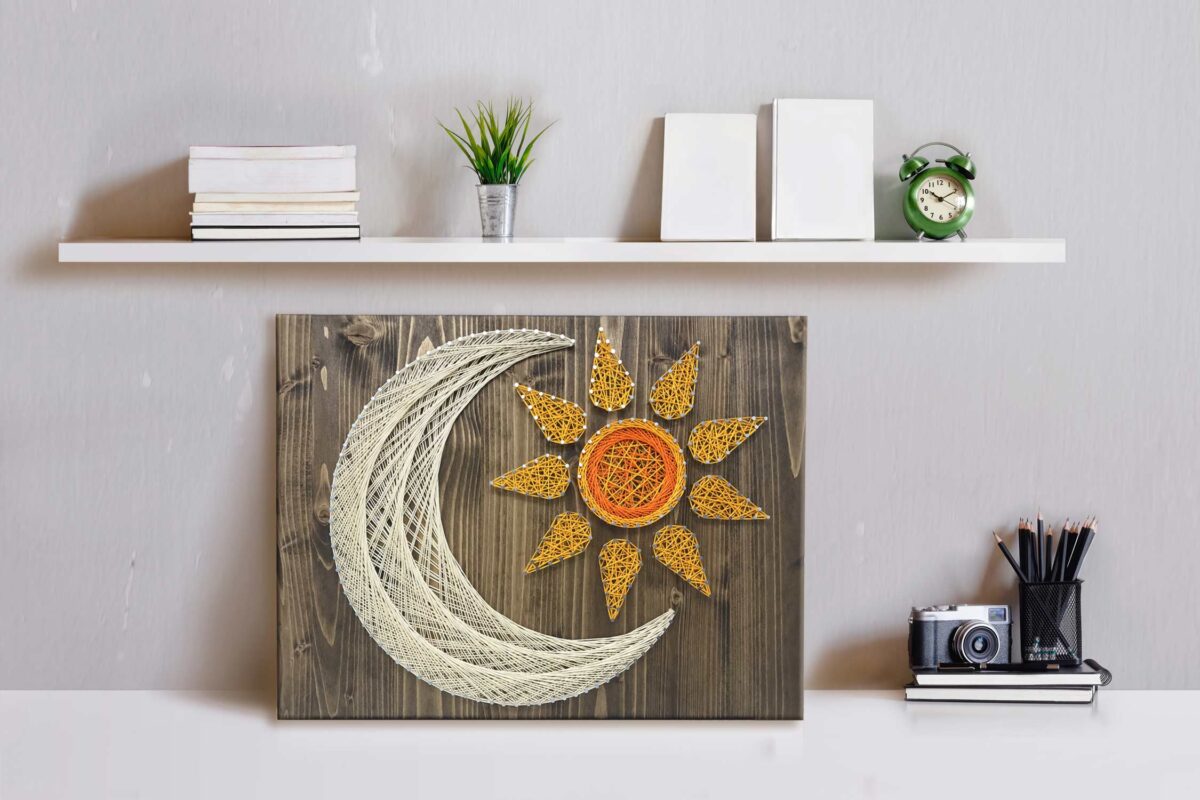
You finished your Sun and Moon String Art! Awesome job!
I would like to be the first person to welcome you to the string art club. Please be aware, you may get all tangled up in string art now.