Need to add a thick straight line in your string art project to give your piece some definition? You click on the perfect post!
Learn how to easily string up the X and O Pattern for your next string art project!
Watch the X and O Pattern Video
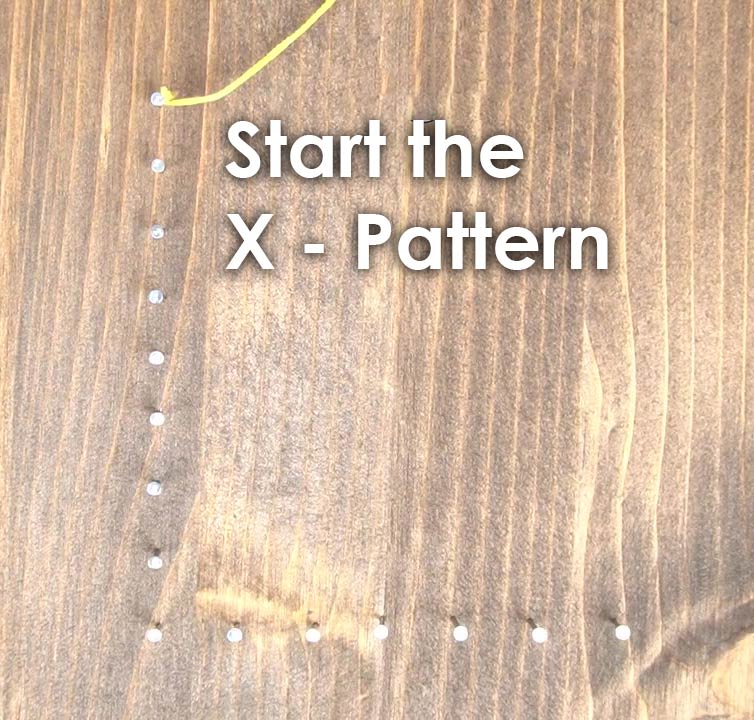
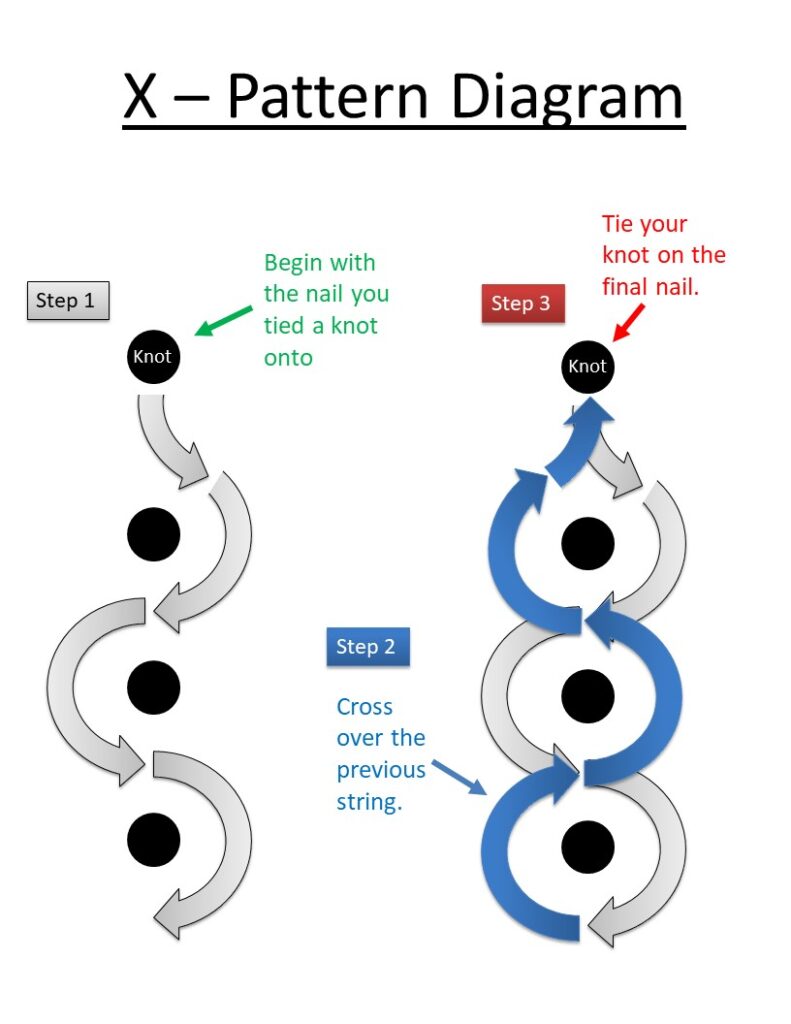
X – Pattern Step-By-Step
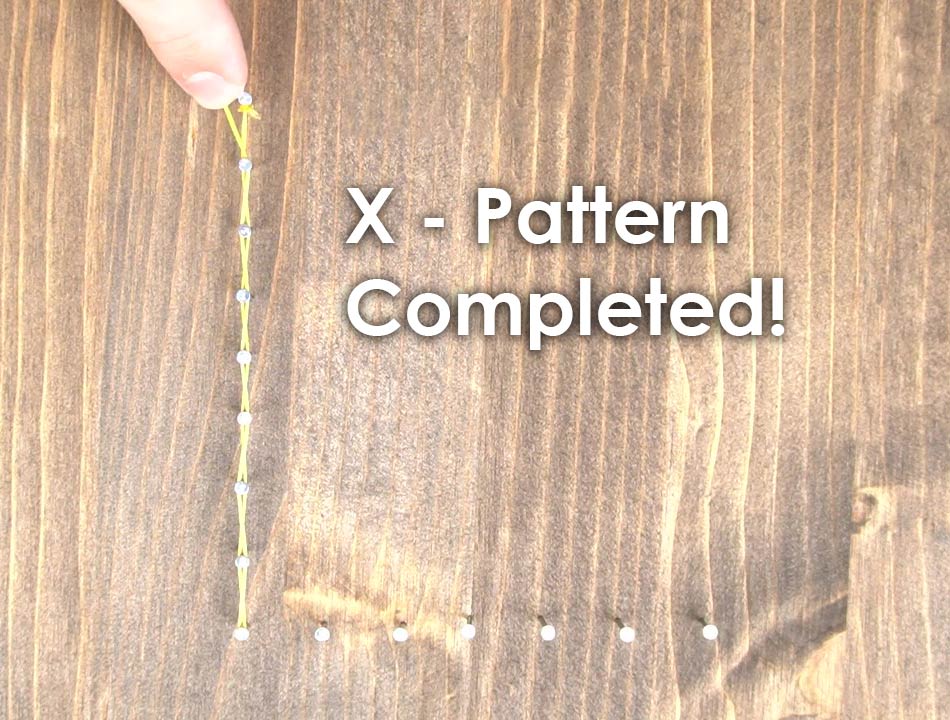
Start the X-Pattern with the nail at the edge of the pattern you are working with.
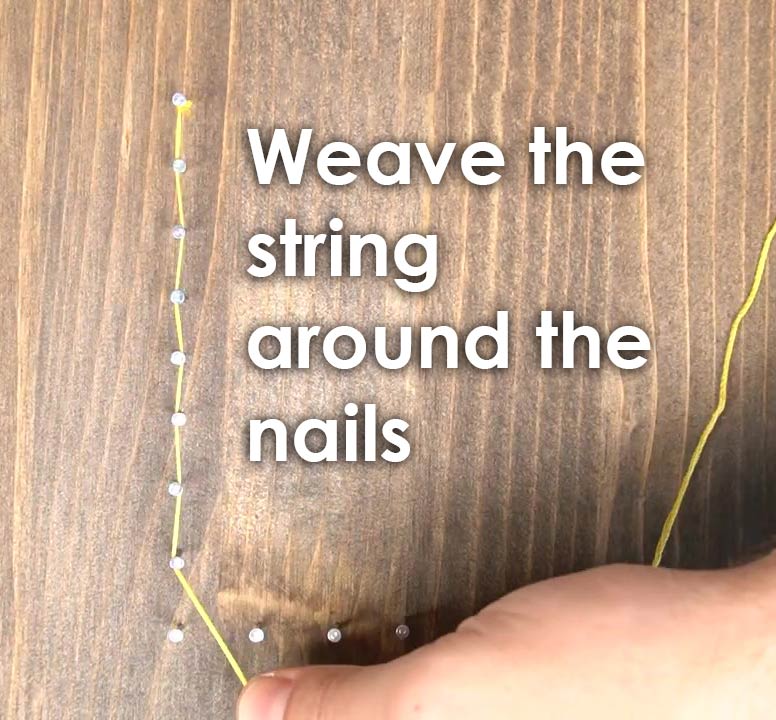
Moving forward to the adjacent nail, extend the string to one side of that nail. Then, extend the string to the next nearby nail by weaving the string to that nail’s opposite side, in comparison to the previous nail.
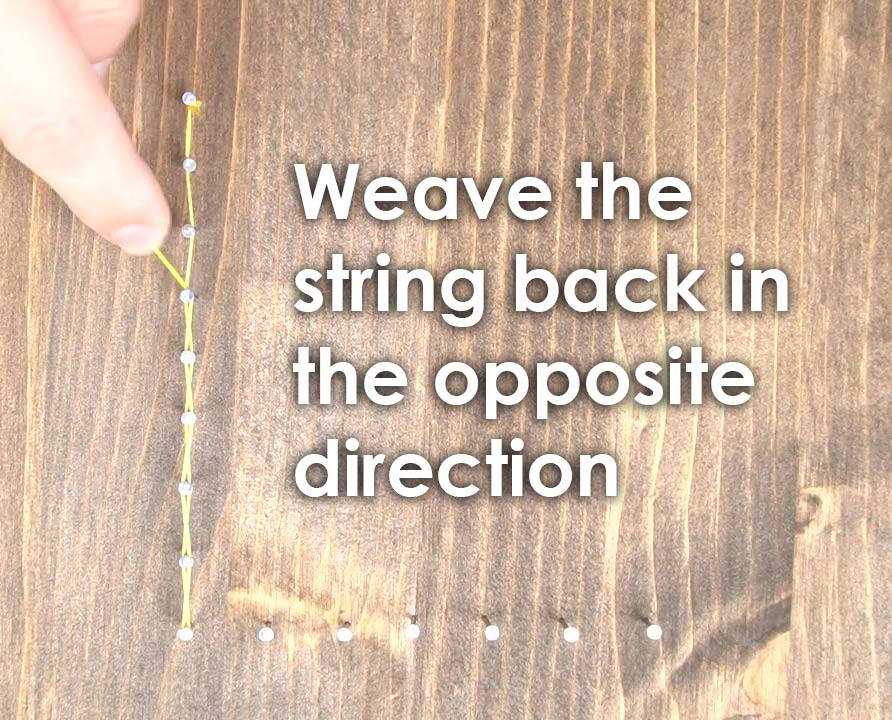
When the final nail is reached, return back to the first nail by weaving in the opposite path. The pattern is created when the string crosses over the previous strings, creating what appears to be an “X.”
See The Diagram Below
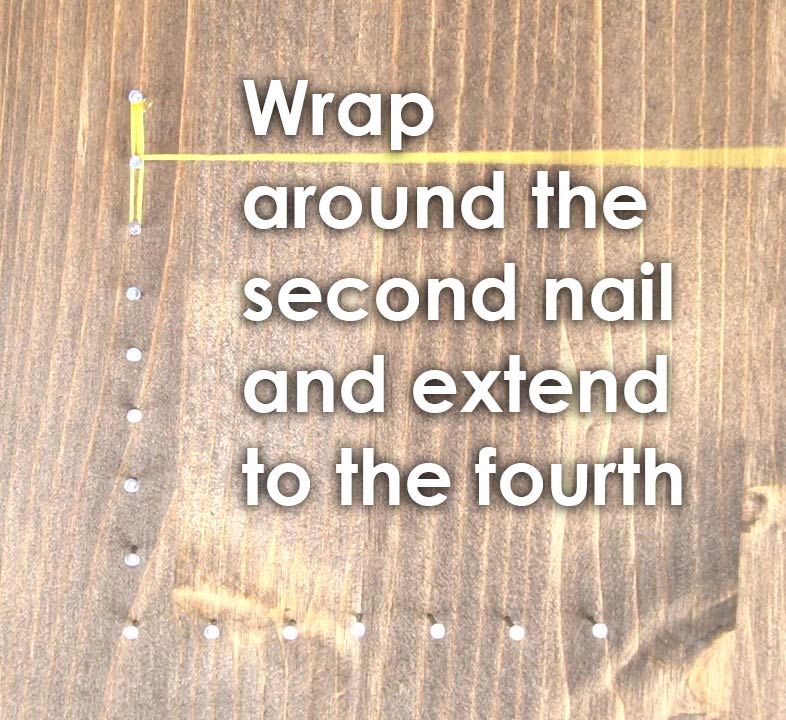
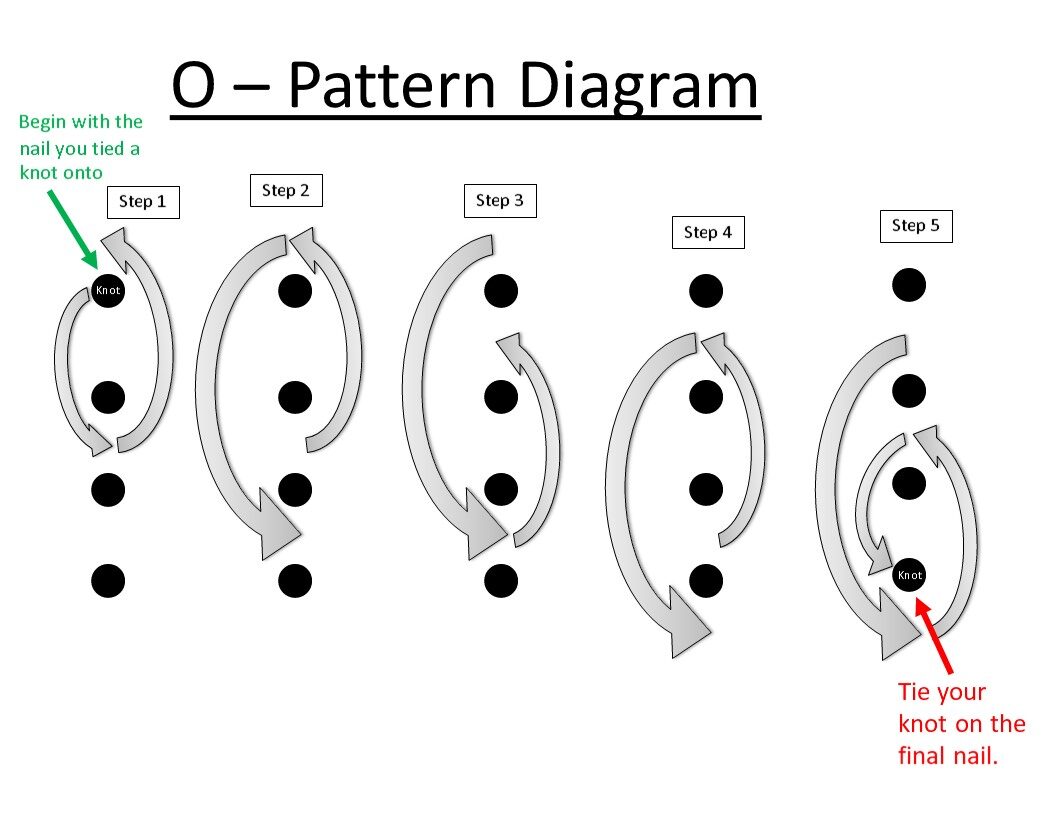
O – Pattern Step-By-Step
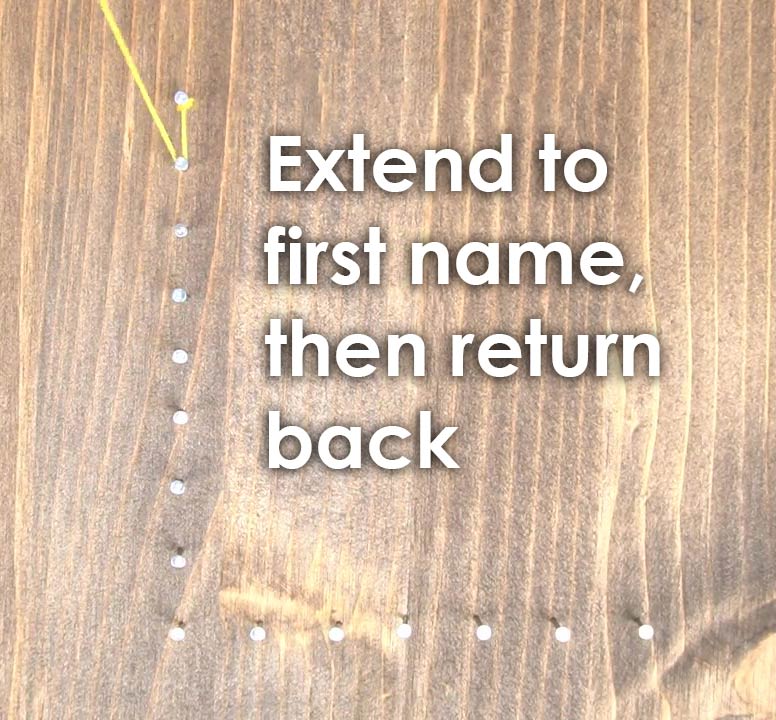
Start the O-Pattern with the nail at the edge of the pattern you are working with.
Moving forward to the adjacent nail, extend the string to the right side of that nail. Loop the string around the outer edge the nail, in a clockwise motion.
Extend the string back to the previous nail, also looping it around the outer edge in a clockwise motion.
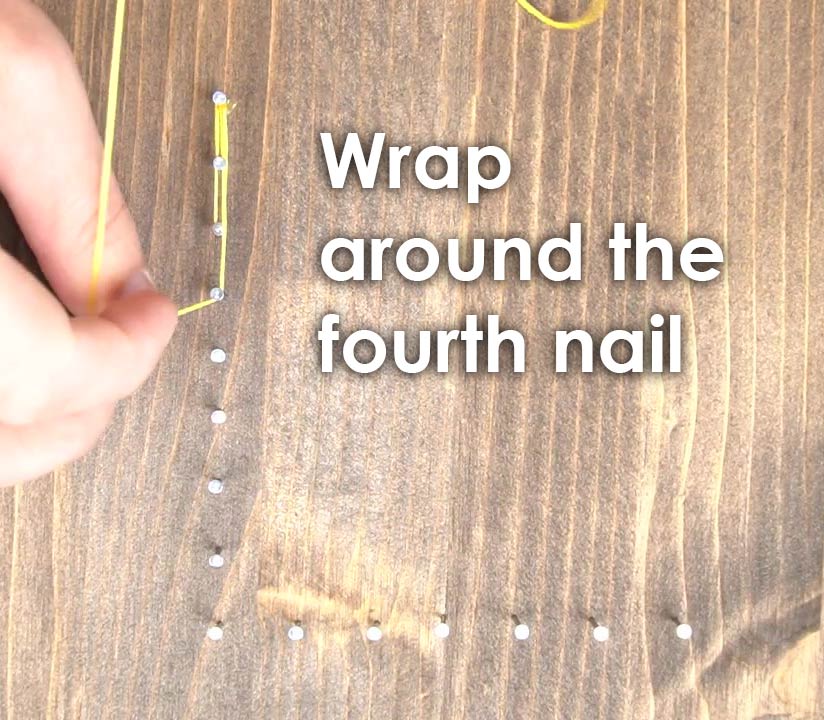
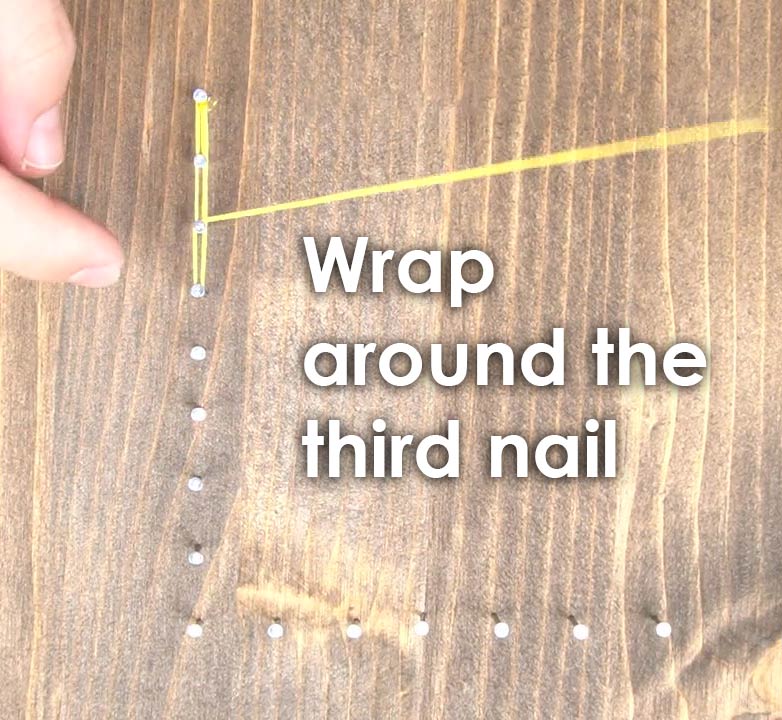
When complete, the string will create what appears to be an “O.” Next, extend the string to the third nail, skipping the second nail.

Loop the string clockwise around the outer edge of the third nail.
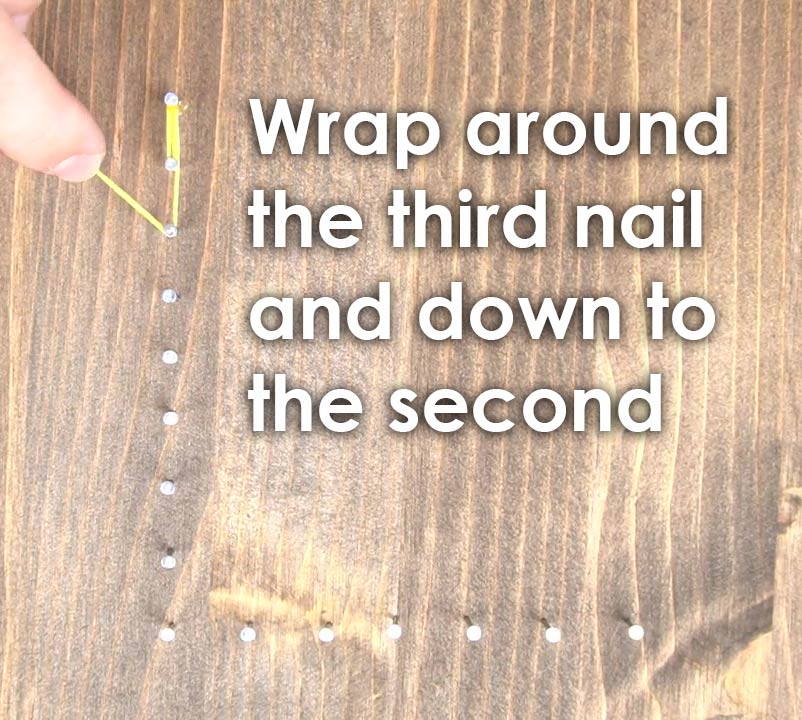
Extend the string to the second nail. Loop the string over the outer edge of this nail in a clockwise motion.
Continue these steps until you reach your final nail.
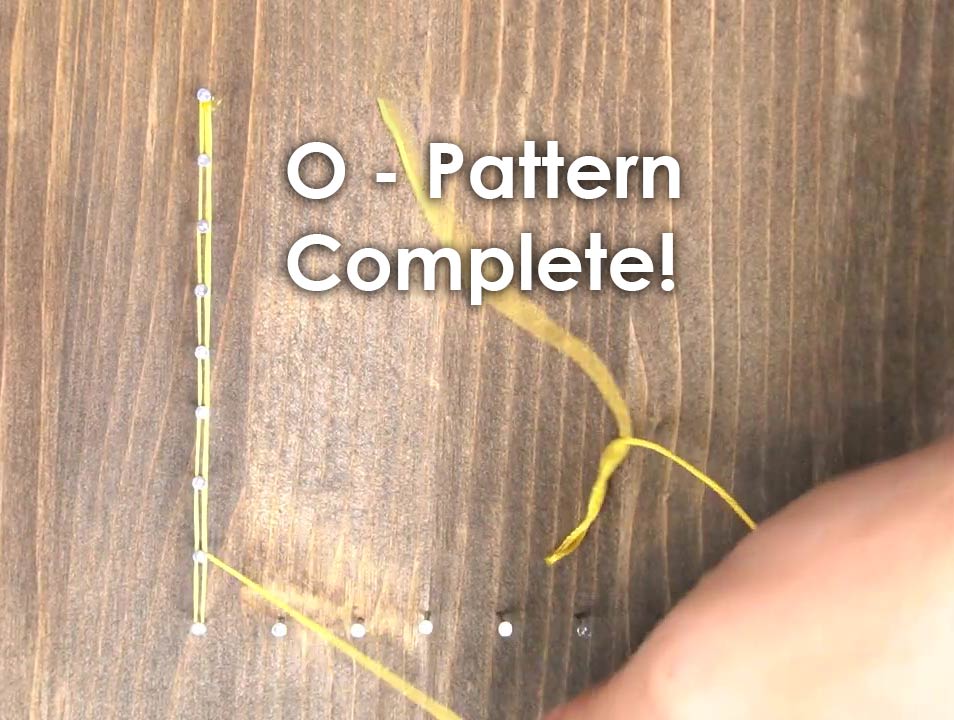
When complete, you may tie a small knot around the final nail with your string and cut off any excess. Only one layer is needed.
See The Diagram Below
Using the X and O Pattern
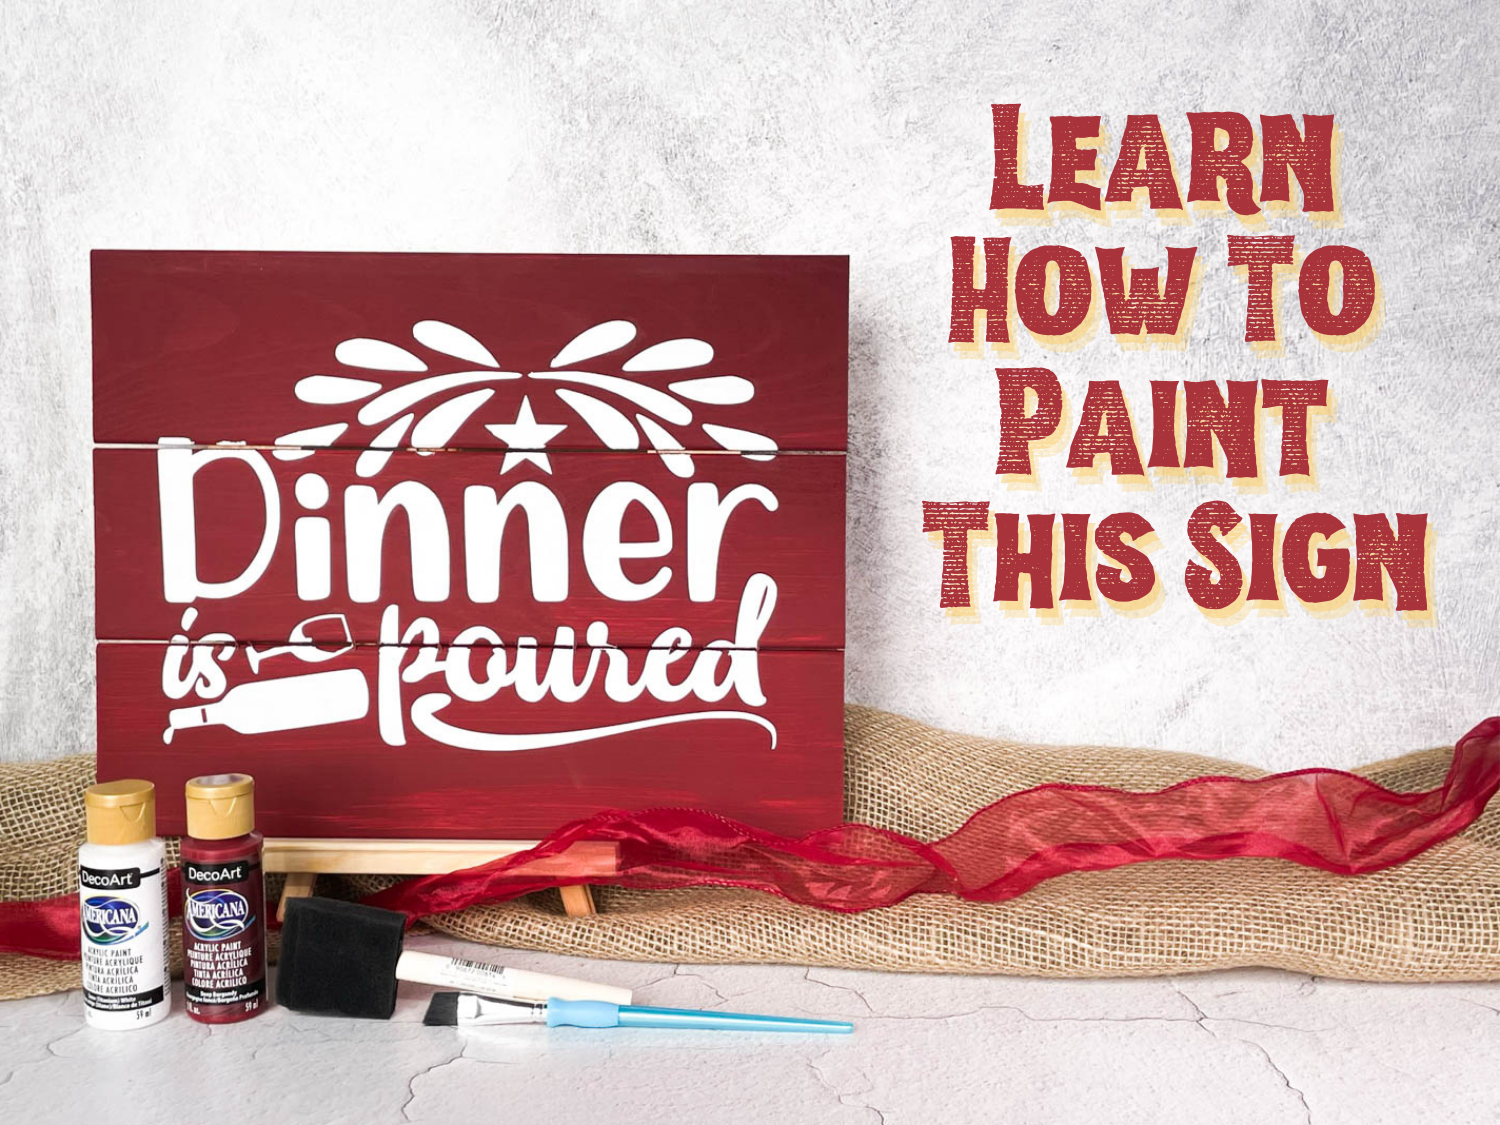
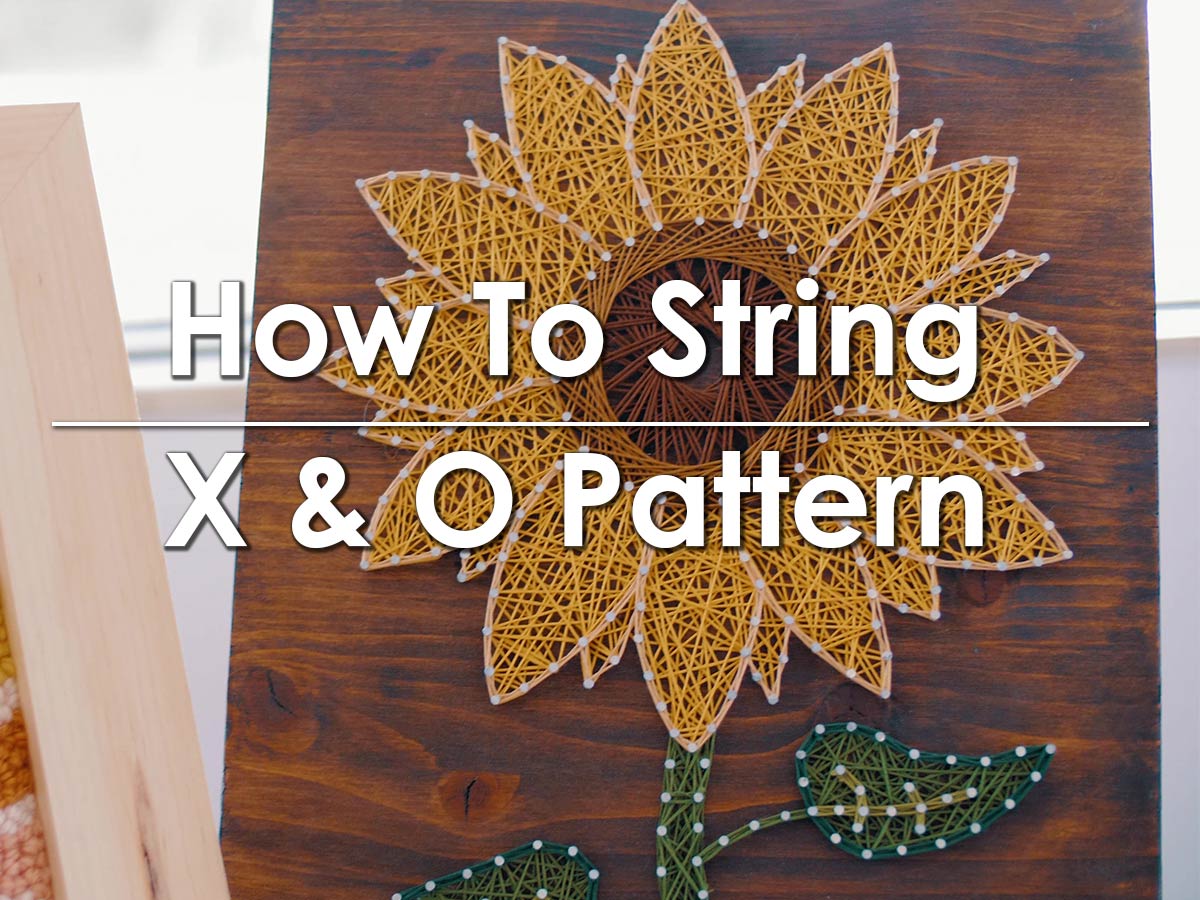
The X and O Pattern is used in many of my string art kits!
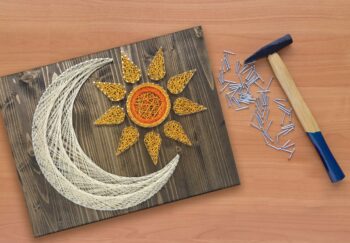
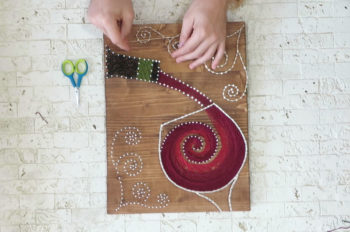
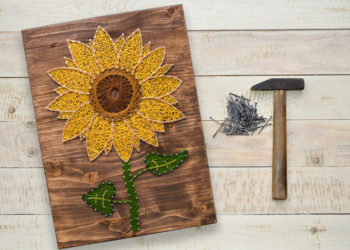
The Wine String Art Kit and the Sunflower String Art Kit are two of the many that use this neat pattern trick.
Visit my website String Of The Art to shop all the string art kits. Which one is your favorite?