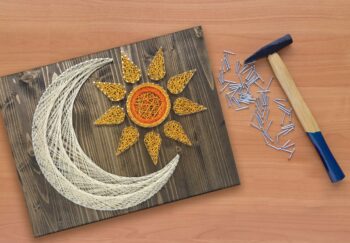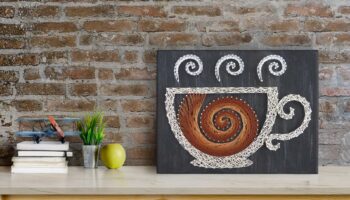
String art is a trendy new arts and crafts project that can capture the creative imaginations of all ages.
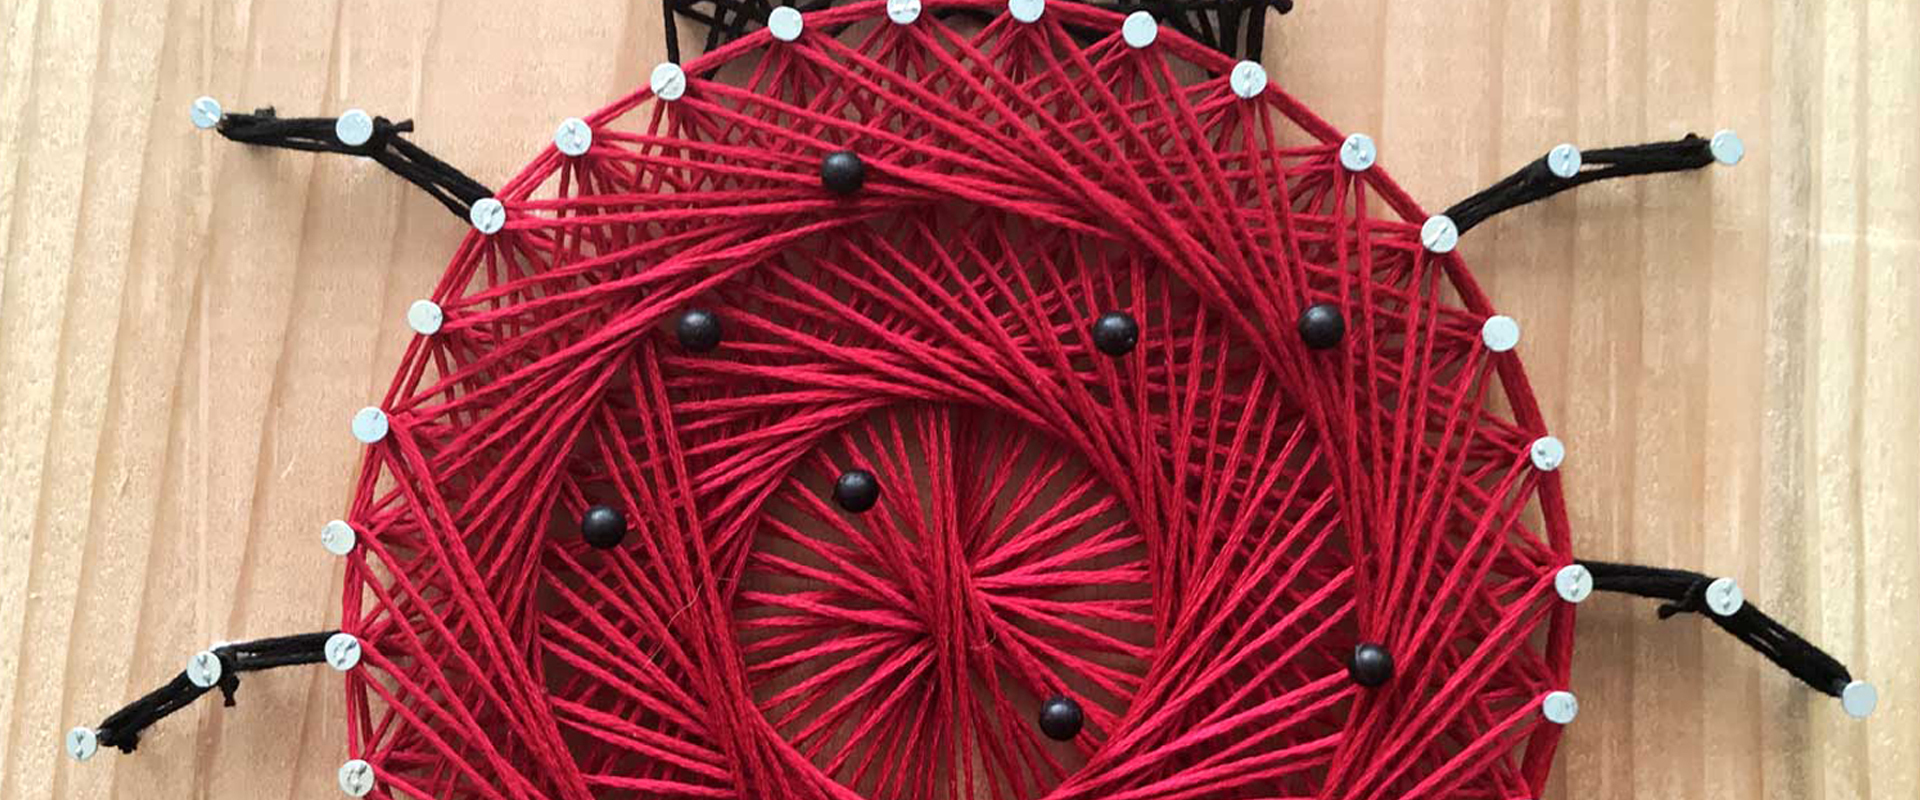
Today I will be sharing with you how you can make this fun lady bug string art. So come join me as we unwind from it all and wrap ourselves in string art!
Supplies you will need to make the ladybug string art project:
- Hammer
- 7 inch by 7 inch Wooden Board
- Wire Nails – ¾ inch #18 gauge nails (https://www.homedepot.com/p/Everbilt-18-x-3-4-in-Zinc-Plated-Wire-Nails-1-75-oz-Piece-per-Pack-801204/204274054)
- DMC Embroidery Floss Color Codes:
- Red 321 => 4 Skeins
- Black 310 => 2 Skeins
- Black Push Pins
- Pattern Template (Download Here)
- Instructions (Download Here)
Wood prep
First step is to prepare the wood. I purchased this pine wooden board at Home Depot (https://www.homedepot.com/p/Edge-Glued-Panel-Common-21-32-in-x-18-in-x-4-ft-Actual-0-656-in-x-17-25-in-x-48-in-493554/202017000) and had a Home Depot employee cut the wood into 7 inch by 7 inch pieces.
After bringing home a few pieces, I sanded the wood down smooth with rotating sander at 150 grit. It took no more than 5 minutes to sand. Saw dust will get everywhere! So remember to wear undesirable clothes, a face mask, and goggles.
When the wood is sanded smooth you can have the option to stain the wood. For this project, I chose not to stain the wood and instead kept the wood grain raw. But any stain color will look great!
Hammer time
Hammering the nails into the wood isn’t as daunting as you might think.
The lady bug string art project only has 56 nails to hammer. It shouldn’t take more than 30 minutes to finish.
Place thelady bug Pattern Template on your wooden board and secure it down with tape.
Hammer the nails into each of the designated dots on the pattern.
Hammer the nails halfway down, allowing for the nail head to protrude approximately 3/8thof an inch above the board.
Remove the outline from between the nails and discard.
All strung up
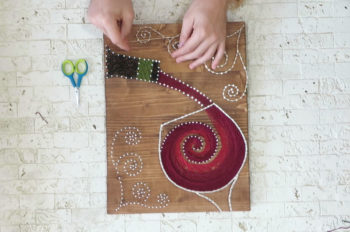
Now the best part… lets string our lady bug!
Quick Tip: Before we begin, we don’t want to tangle up our string. I recommend that when you take the two wrappers off the DMC embroidery floss is to then separate the string out into a circle. Then wrap the circle around your wrist as if you were to wear it as a bracelet. Now you will string your ladybug up without any tangled messes!
The instructions (Download Here) detail exactly how to create all the stringing detail seen in the lady bug. It breaks down exactly which nail you will wrap the string around. For example: Start by knotting string around nail #1. Extend the string down to nail #17. Wrap the string clockwise around nail #17. Bring the string back to nail #1. Hug the string clockwise around nail #1 and nail #2. Extend the string down to nail #18, wrapping it clockwise around the nail. Repeat the steps.
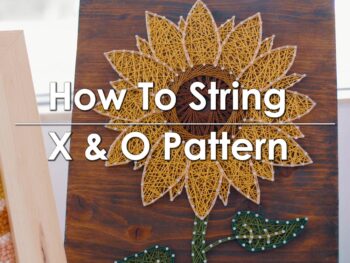
This string art project includes three circular patterns and is very detailed. The instructions (Download Here) cover it all! Download them so you can complete the project.
Push pins
Lastly, decorate your lady bug with randomly placing your black push pins all over your brand new string art creation.
Finished
And VIOLA… you are now a STRING ARTIST. Congrats! Display your lady bug around your house, show it off to your friends. Brag about your new string art skills. Make a bunch for friends, family, and loved ones. Round of applause!