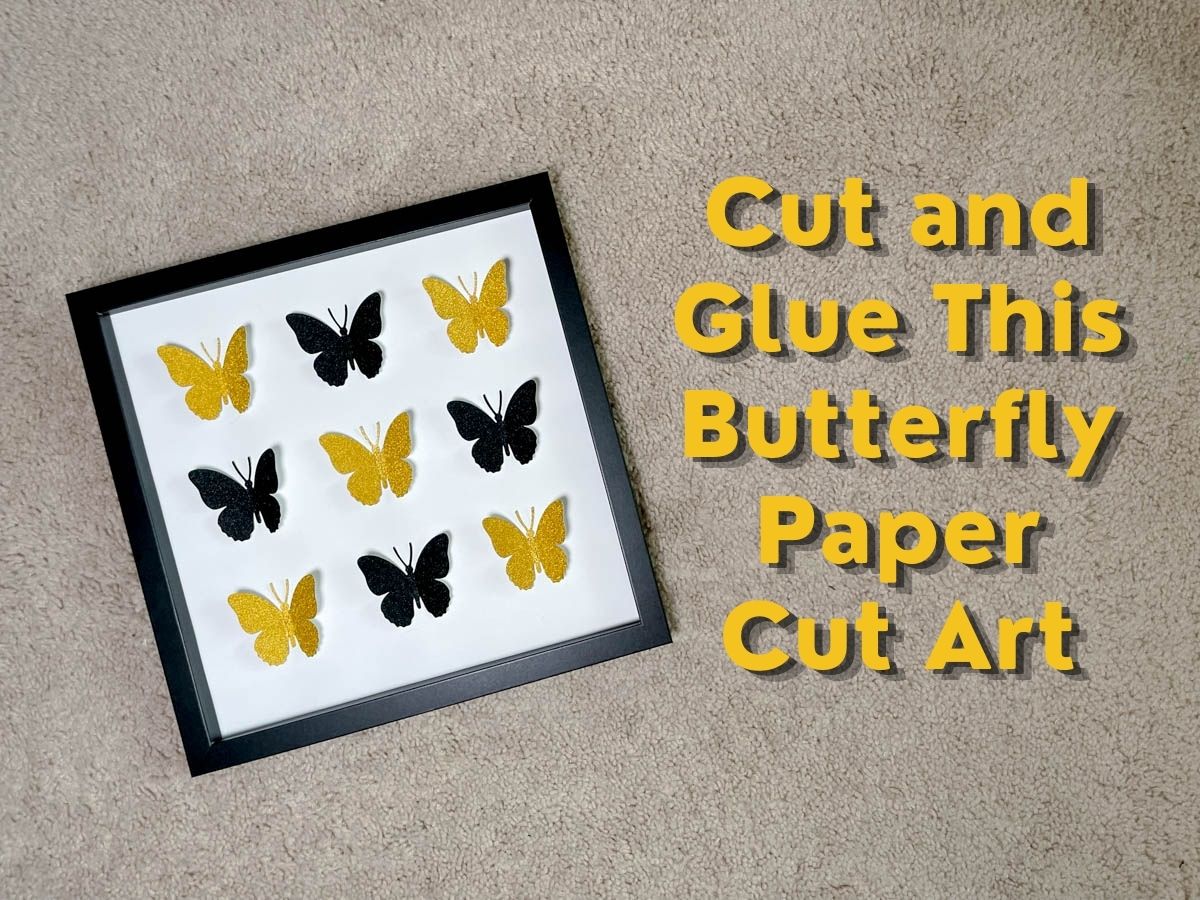
Learn step by step how you can create this stunning Black and Gold Butterfly Paper Cut Art!
Materials
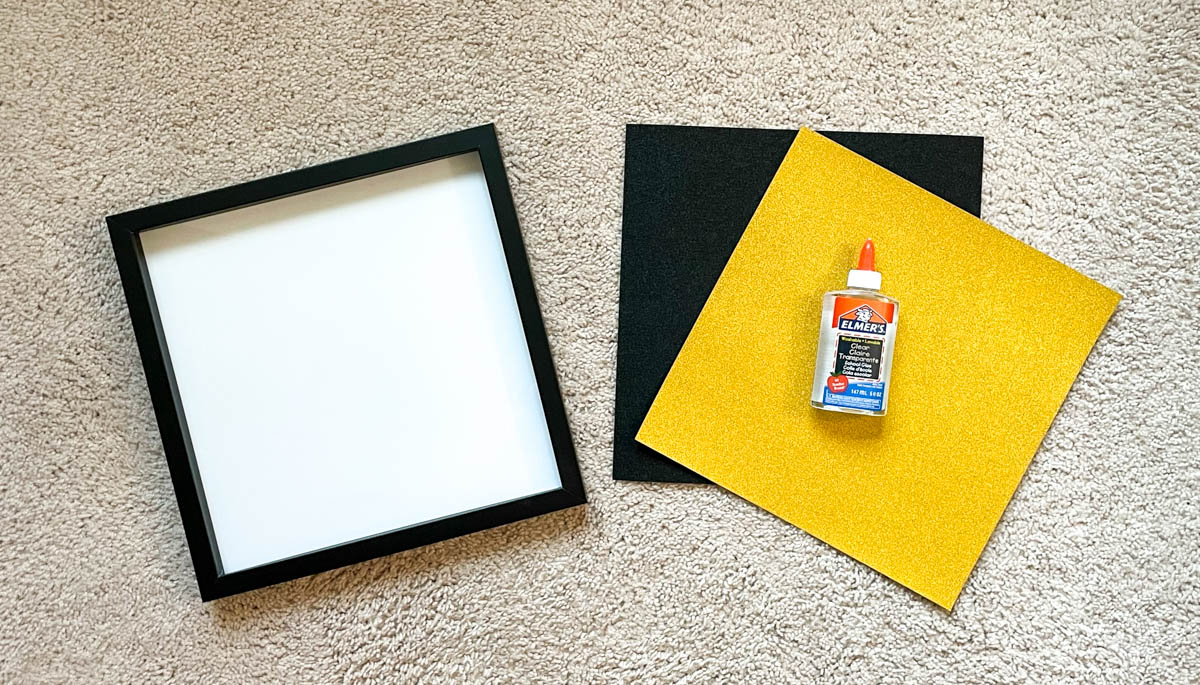
- Shadow Box
- I used a 12″ by 12″ black shadow box.
- Glitter Cardstock Paper – Gold and Black
- Cut a 12″ by 12″ white piece of paper. You will craft the project on it.
- Glue
- Any liquid glue will look. I don’t recommend using a glue stick or hot glue gun.
- I used this glue for the project.
- Electronic Cutting Machine
- The Silhouette Cameo 4 or the Circut Explore Air 3 are both perfect options.
- Cutting Mat
- This cutting mat is used for the electronic cutting machine.
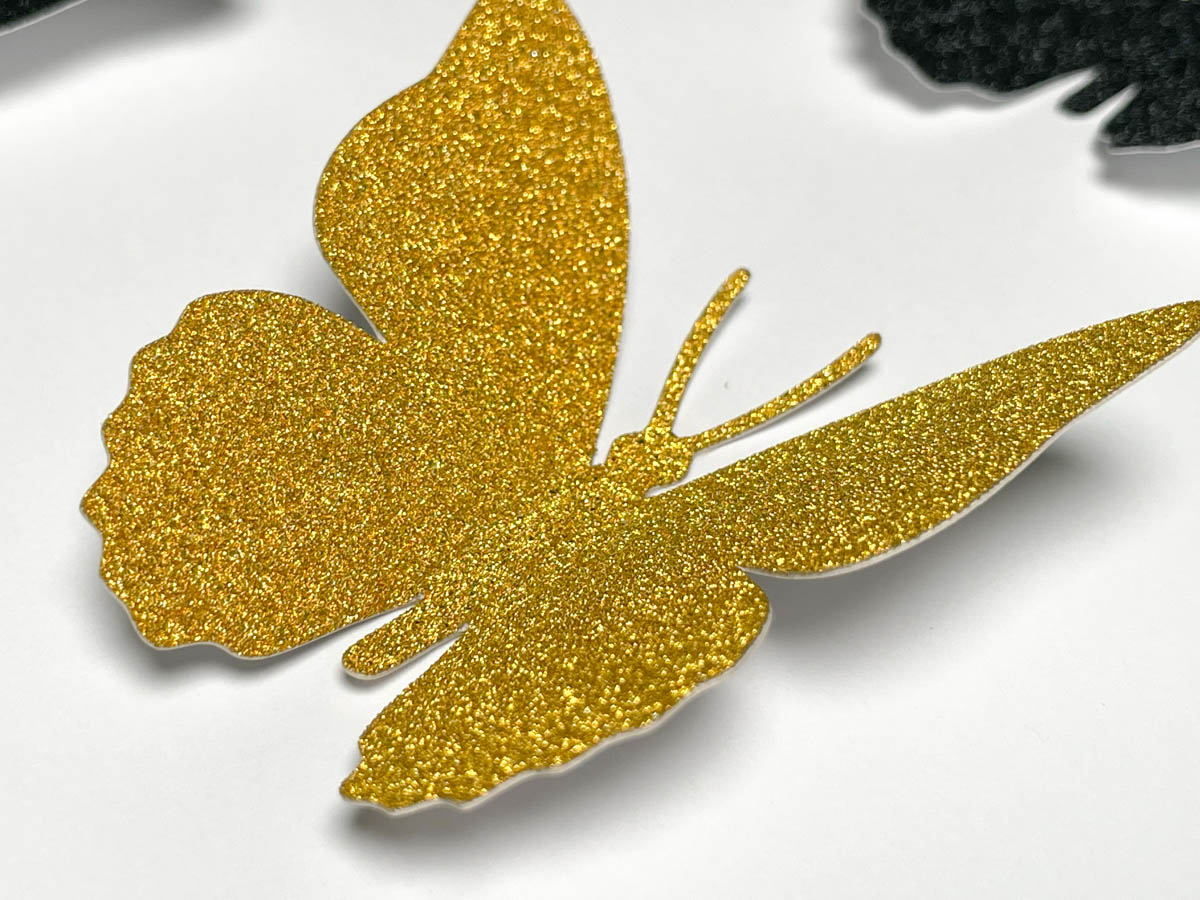
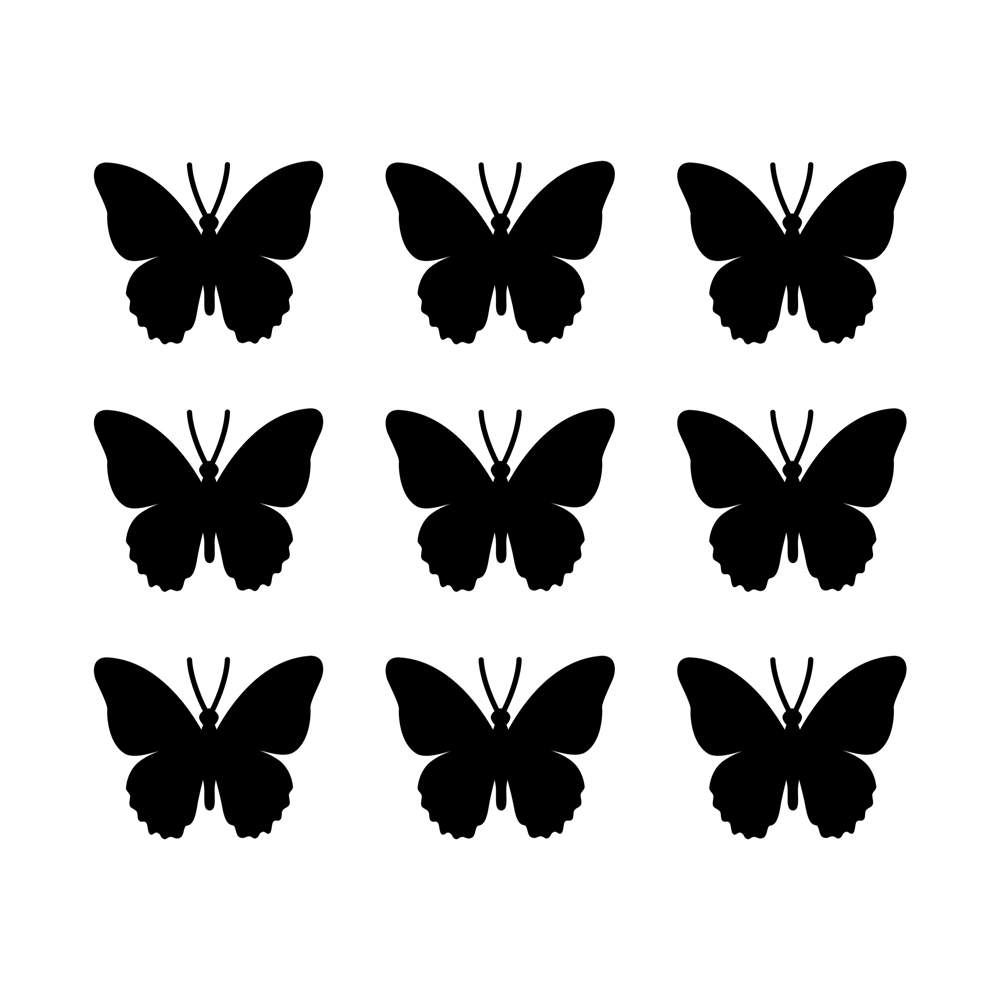
Step 1: Cut Out The Butterflies
Keep In Mind Before Beginning
I crafted this project inside a 12″ by 12″ shadow box. The size of the butterflies in the downloadable templates below were designed to fit the 12″ by 12″ shadow box. If you are using a different size shadow box, please adjust the butterflies accordingly.
Download Patterns
Below is a link to download the butterfly pattern. It is sized for a 12″ by 12″ shadow box.
Upload and Cut
Once you’ve downloaded our patterns, upload the patterns into the electronic cutting machine’s software. Drag and drop usually does the trick.
While using the software, you may need to adjust the size of the pattern template to 12″ by 12″. Place the cardstock on the cutting mat. Feed the cutting mat into the electronic cutting machine.
Cut regular cardstock on your Silhouette, use these cut settings:
- Blade: 4
- Speed: 5
- Force: 24
- Passes: 1
Cut regular cardstock on your Cricut by selecting the “cardstock” or “medium cardstock” option in the material setting.
When ready, allow your electronic cutting machine cut the leaves and tree trunk out!
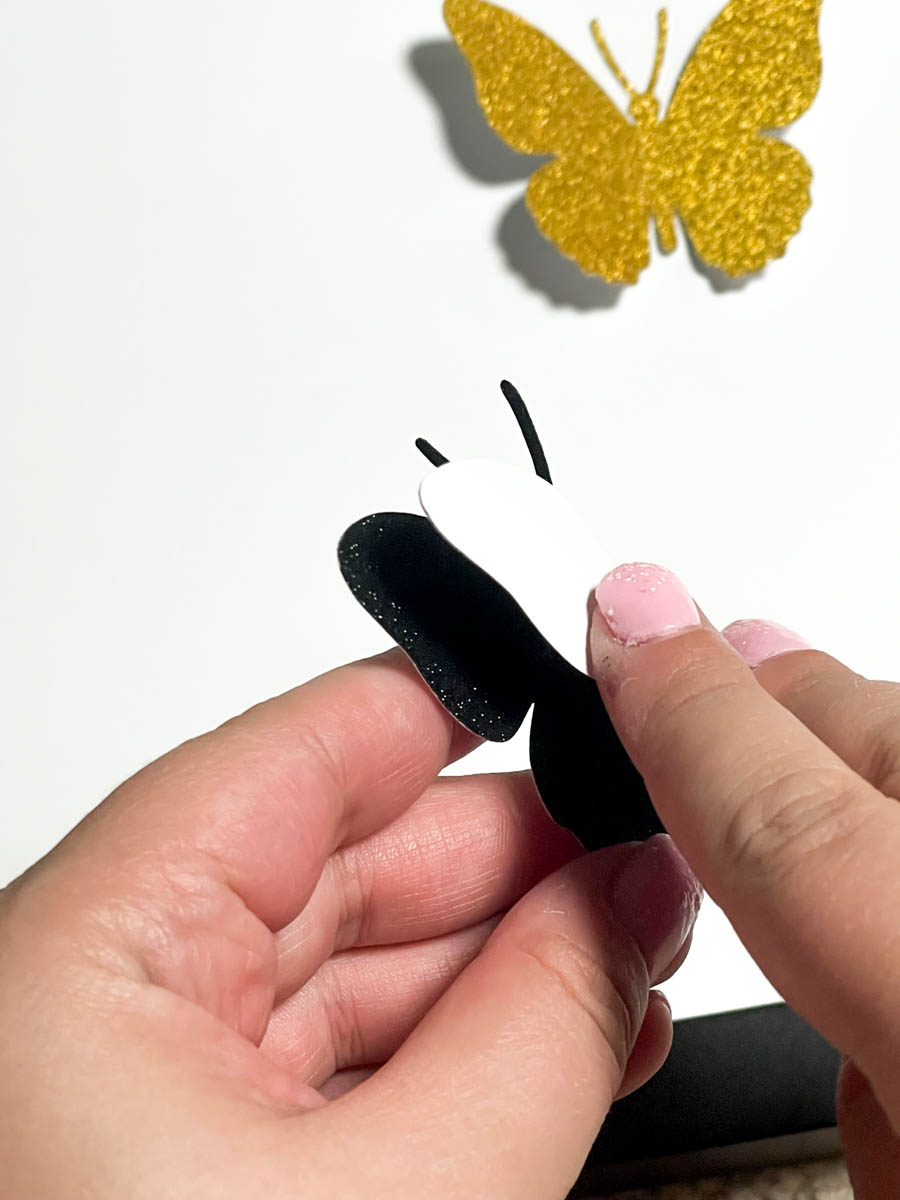
Step 2: Glue Into Place
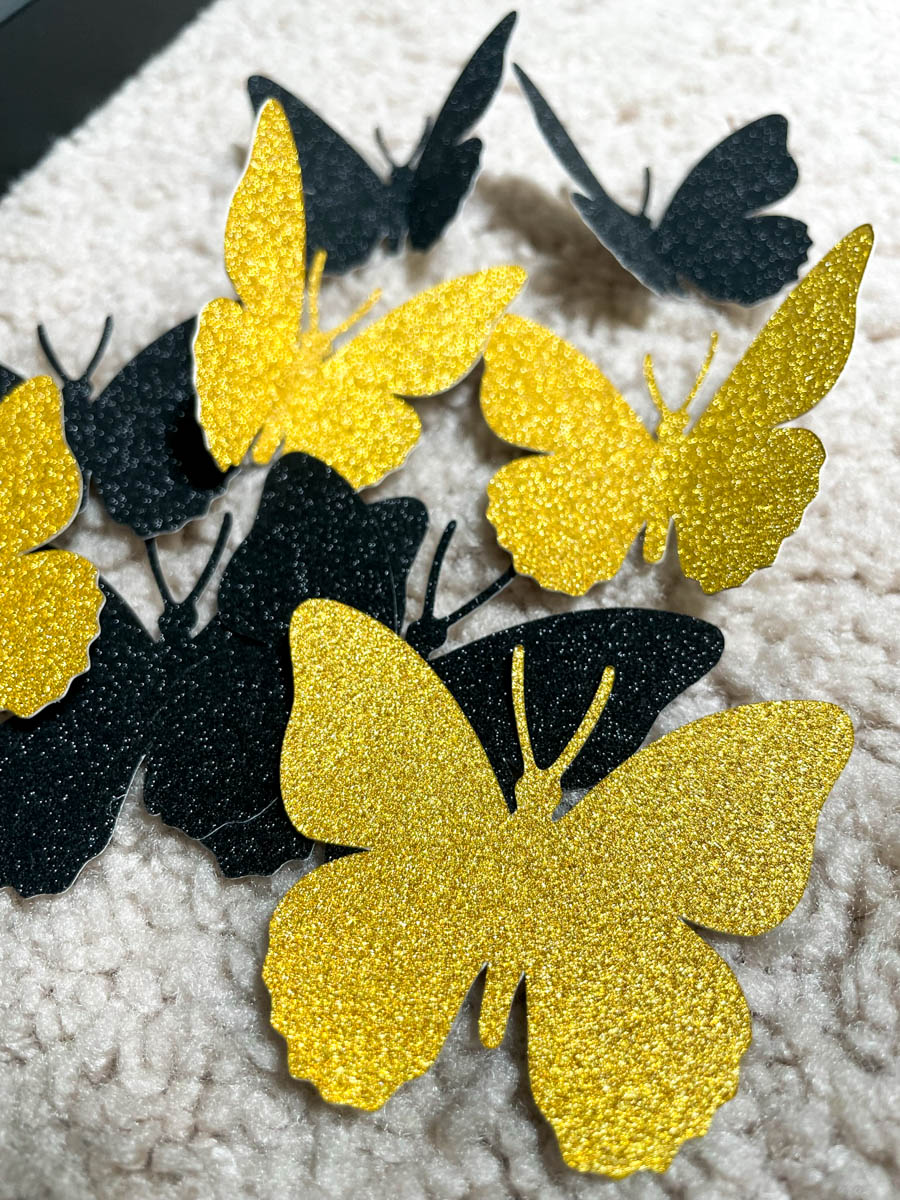
Fold all the butterflies down the middle.
Grab your 12″ by 12″ piece of blank white paper. Position and space your folded butterflies on the white background paper.
Once positioned in the desired place, glue the butterflies.
A drop of glue running down the center of the butterflies is all that is needed.
Allow the glue to dry for several hours.
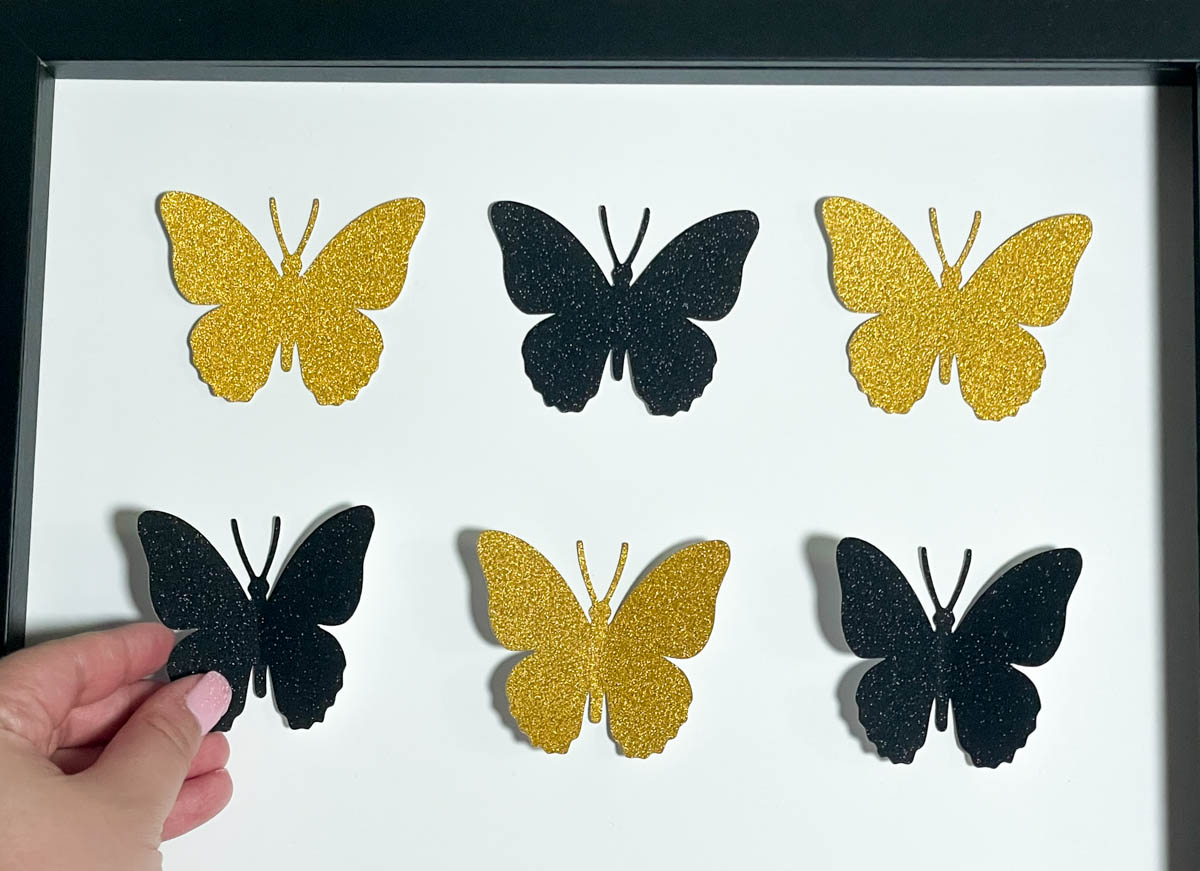
Hang Up Your Masterpiece
Once the glue is dry you’re done!
Place the art inside your shadow box.
Hang up your paper cut art for everyone to see!
Congrats!


